
Quick and Easy Visualization of Paint Colors for Rooms
I have recently completed the major stages of renovation for a Florida room in my home. All the old paint and wall surfaces were torn down and built back up to what we wanted as a finish, and we were staring at a fully primed, and waiting for paint, empty room. The only problem was, we hadn’t really decided on a color scheme yet!
I needed a quick way to visualize what general types of colors we thought we’d like to use, so I came up with a way using my camera and GIMP. I will outline the steps I used below, with some example photos taken from Flickr. The nice thing about this approach is that you can visualize just about any room with new paint even if the room is not empty, and even if there are different lighting conditions across walls (sun shining in a window, while another wall might be in shadow for instance).
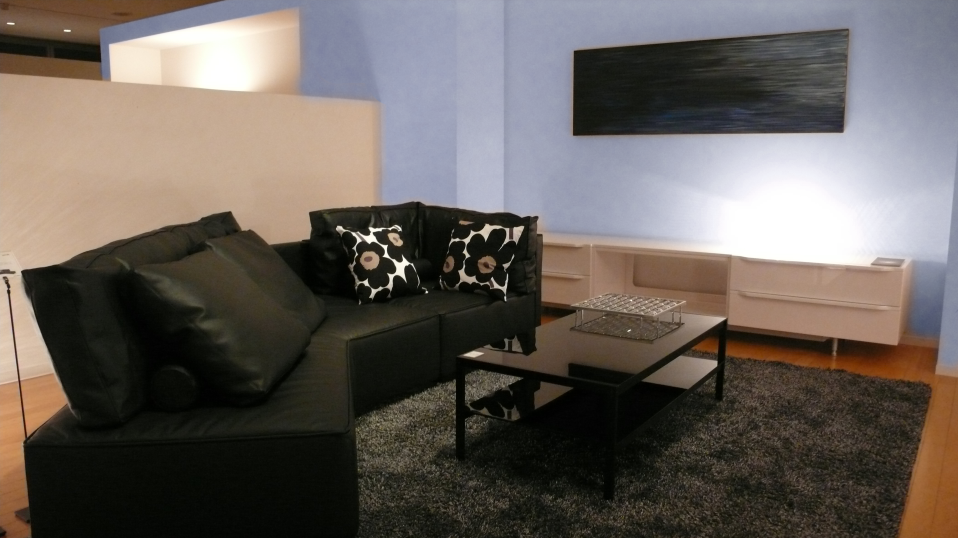
So to explain, I am using Flickr user micamica’s living room photo:
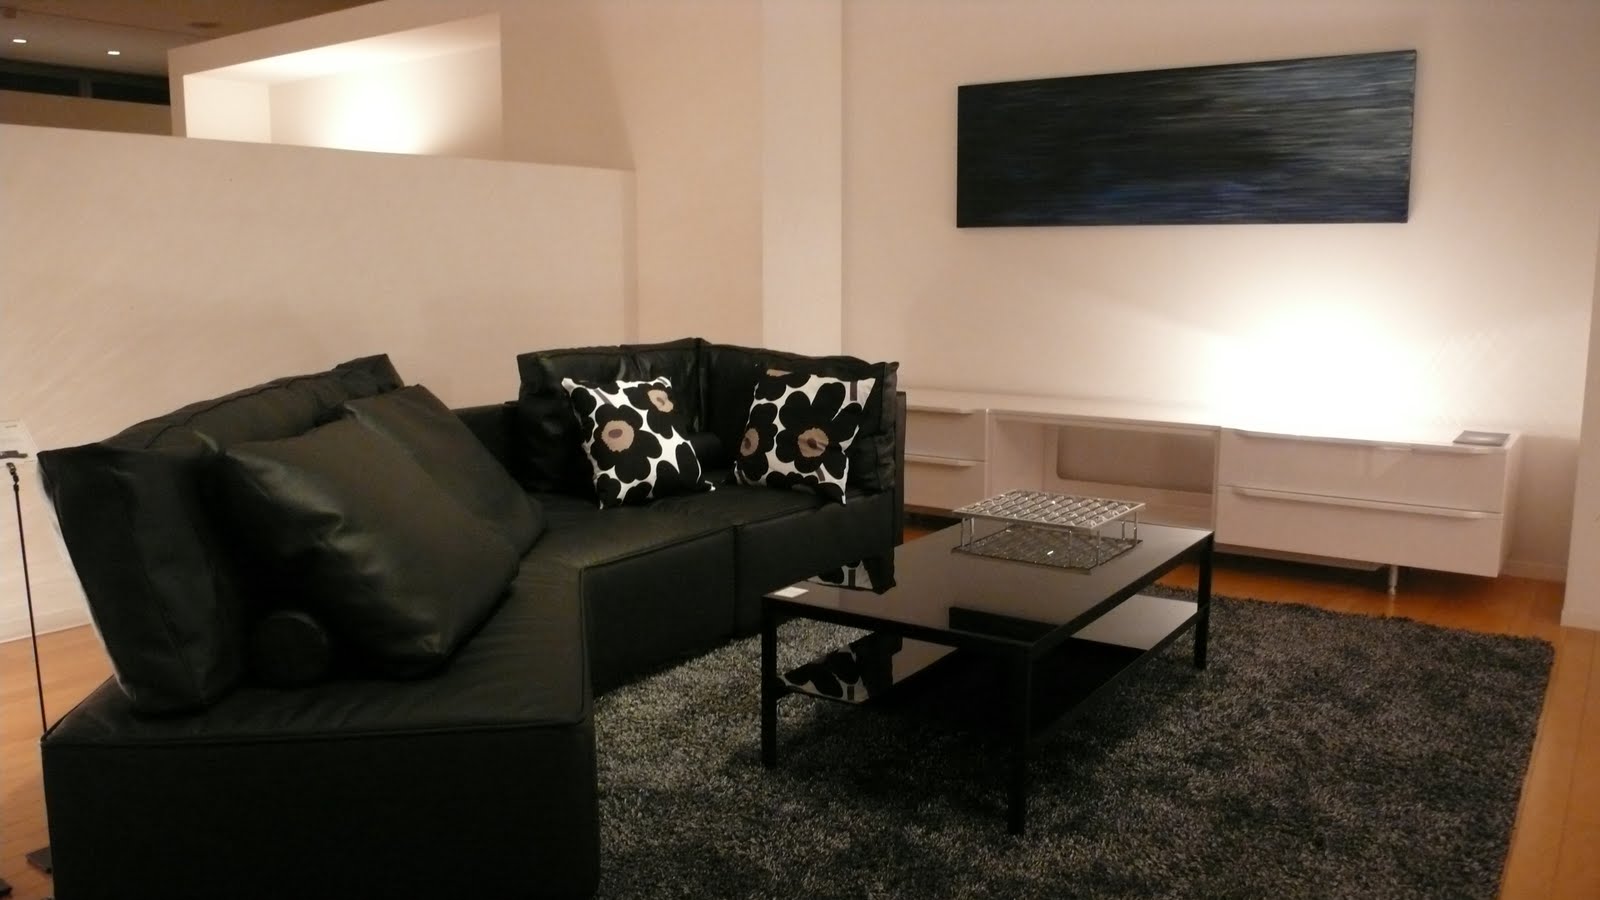
The basic process here will be to isolate the walls we are interested in changing the color of, and to then adjust the colors of that wall to help us visualize what the room will look like. After loading the image up in GIMP, I will often duplicate the Background layer right away (so I always have a version of the original available later). After that it’s time to start isolating the wall we want to change the color of. In this case, I want to consider changing the large rear wall with the painting hanging on it, but will leave the low wall behind the couch to either keep it white or to change it to a different color than the main wall.
There are a couple of ways to select just the wall we want in GIMP. If we just want a quick visualization to get an idea of what the color will feel like in the room, we can make use a “Quick Mask” in GIMP to quickly paint in the areas we want to select. The toggle to turn on Quick Mask is on the bottom left of the GIMP screen, and looks like a small red square. When you turn it on, your entire image will appear to have an opaque red layer over everything.
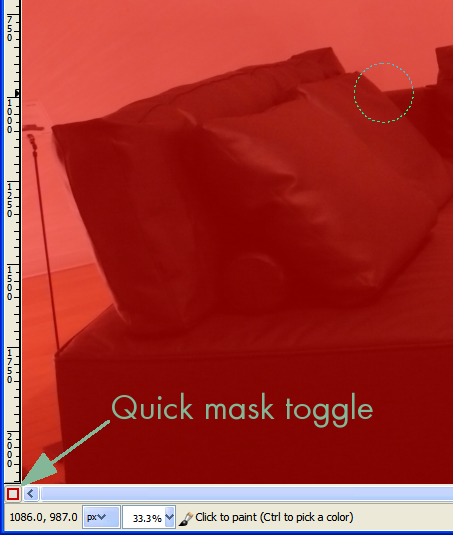
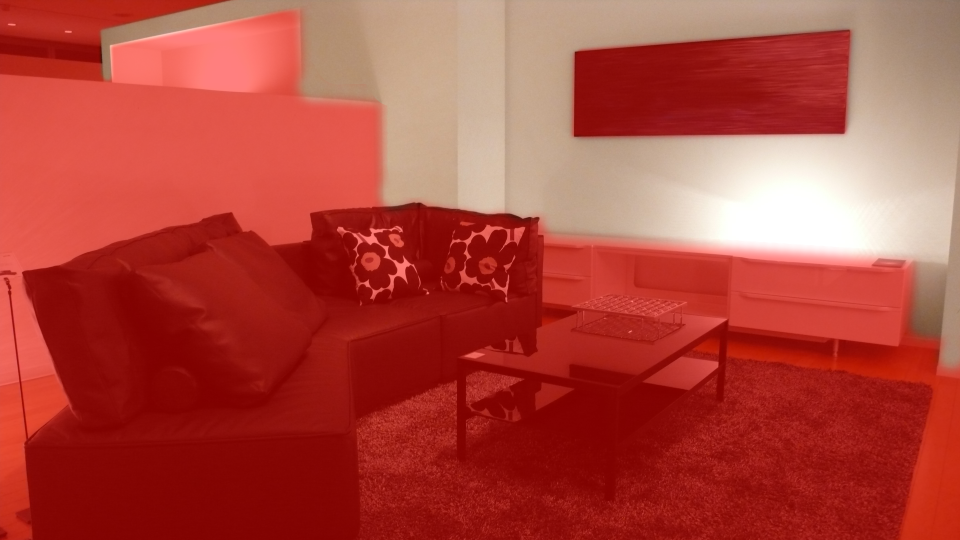
To select the areas we are interested in, just paint over the area you want with a white color. I like to use a fuzzy circle brush to allow the edges to feather just a bit. You will want to paint in all of the areas you want selected. As you paint, the opaque red mask will disappear and show the image underneath:
Quick masked wall (note art left not selected)
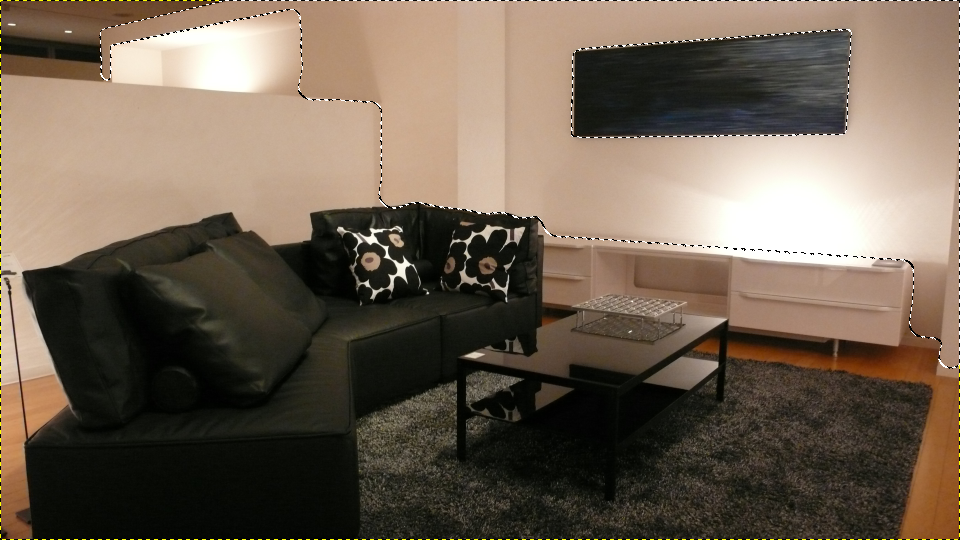
After you’ve painted out your selection, toggle the Quick Mask again, and you’re left with a selection of what you painted. At this point, you can quickly try changing the color of the wall. First, though, I personally like to do this without having the “marching ants” selection showing to distract me. To turn them off in GIMP, go to View -> Show Selection, and uncheck it (don’t worry, you’re selection is still active - just don’t forget that it’s hidden or you’re gonna be cursing when paintbrushes don’t work right for some reason).
Now you’re ready to adjust some colors! Go to Colors -> Hue-Saturation. You can now adjust the sliders for the Hue and Saturation to adjust what your selected wall will look like. For instance, what about a nice soothing blue color?
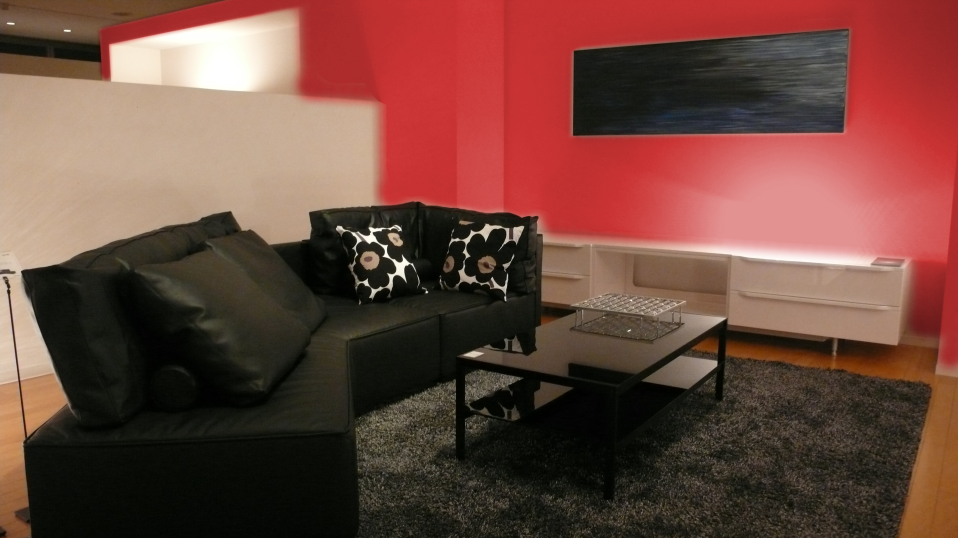
Another option would be to use GIMPs “Colorize” command under Colors -> Colorize. Again, adjust the Hue to your liking, and tweak the Saturation and Lightness to taste. In this case, a deeper red color:
If you wanted to adjust colors of other sections of the photo, you can always save your current selection to a channel for recall later on. Just use Select -> Save to Channel, and your current selection will be saved to a channel (mine is saved as “Selection Mask Copy” by default). You can now quick mask a different portion of your image, and repeat the above steps to apply a different color.

In the above steps, I am just roughly trying to quickly visualize a different set of colors on a room to get a feel for it, so this is by no means a detailed and meticulous modification. You could spend a lot more time masking out portions of your image more carefully if you wanted something a bit better. For images that have walls that are already colored, you could also run a “Desaturate” on your selection before using “Colorize”. This will remove any colors already present on the wall, but still keep the shading and relative shadows.
This method is not perfect, but certainly serves nicely to quickly visualize what type of colors might be more interesting to pursue for the room!