Getting Around in GIMP - Contour Painting
Similar to using dodging and burning is something I like to call “Contour Painting”. It’s basically dodging and burning (d&b), but with an eye towards contours of the subject in a photo. I will use this very often in shots with skin, and a great example of this would be a nice cheesecake pin-up style image!

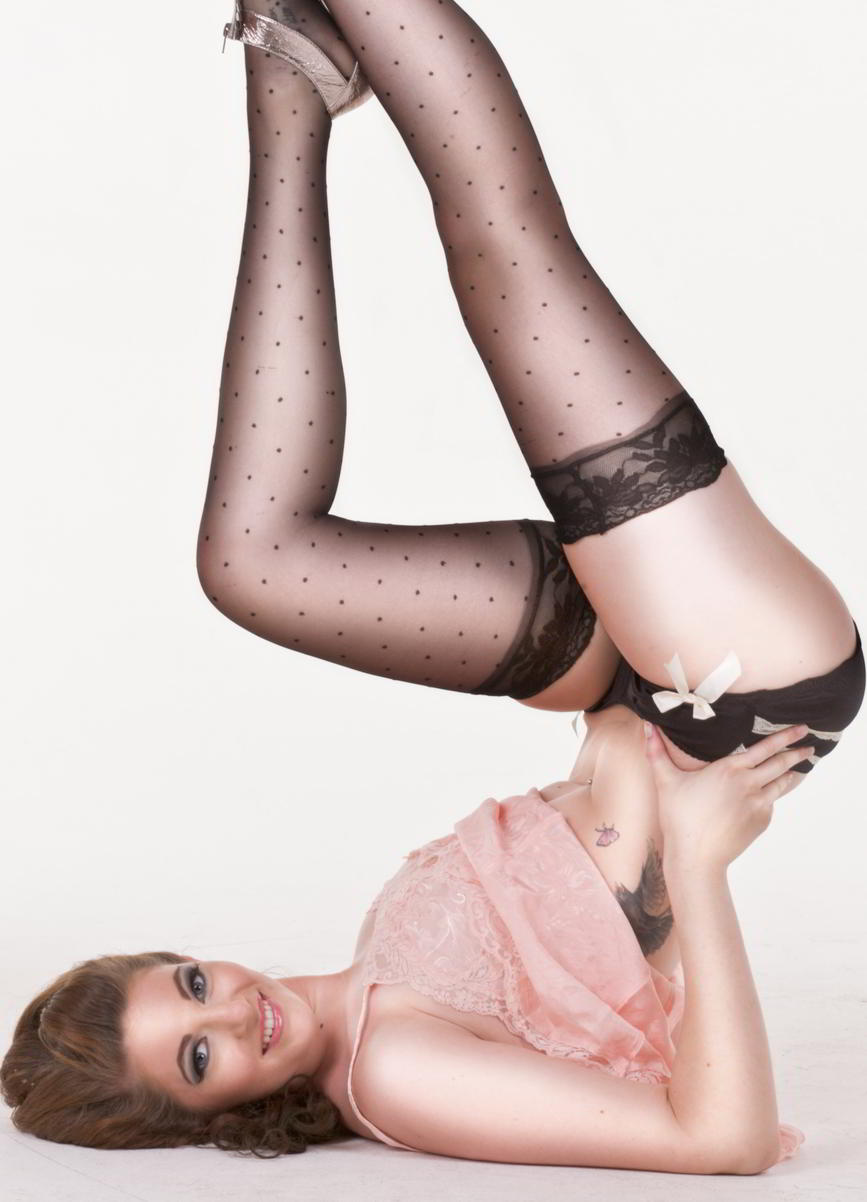
First off, I want to thank Evolutions Photography for graciously allowing me to use this wonderful image as part of my tutorial. The model is the lovely Ariel Fulmer (Arielita on ModelMayhem). Make up artist is DmarieBelleza, and the hair stylist is Anna Marie De Almeida. I originally came across this image in the ModelMayhem Digital Art & Retouching Challenge forum in this thread.
Planning
For the most part, the lighting in your image should already indicate how the major contours of your subjects are lit. This should be the baseline by which you begin enhancing those highlights/darks to begin adding shape. Remember - you will usually want to approach this with a light hand at first.
You should also have an idea of how strong you want the effect to be. If it’s highly exaggerated it tends to look more like a mannequin or illustration in some cases, if it’s subtle it can nicely highlight those portions of your images. If I am using it on a more natural image I will use it lightly on faces and to slightly enhance the shapes of interest (bare skin or interesting textures/folds in clothing).
With an image like this pinup, I want to push things to be more exaggerated for a very stylized look (see this search on Vargas for examples of what I am aiming for).
Looking at Contours
The trick to this method is an understanding of where the light is primarily coming from in your image, and what the shape of the objects are. This is best illustrated in images with a single light source (but can be used on just about any image), as you can easily tell where the highlights are on an object.
What you want to notice is: what is the shape of your object, and how do you want to enhance it in your final image?
At the end of the tutorial is a link to the GIMP file I used while making this tutorial.
Dodging & Burning
The basic premise behind dodging and burning (d&b) is to manipulate the exposure in certain areas of a photo. In the old days we would actually do this on an enlarger by using something to limit the amount of light hitting our print (dodging), or by masking other areas of a print to allow extra light to pass through on certain portions (burning).
In the digital realm, GIMP has a specific Dodge / Burn tool for this. It is nice to quickly touch up an area, but works destructively on your image (it alters the pixels of the underlying image without a means for easy adjustment). We can achieve the same effect (mostly) by using extra layers set in Overlay (or Soft Light) blend mode.
With a new layer over our original image in Overlay mode, we can then paint with white and black values to selectively darken or lighten the areas we want. It’s far easier to show this process rather than explain it, so on we go!
Set Up
The nice thing about this approach of using Overlay layers is that you can leave your base image underneath all the layers for different manipulations (like color changes), without affecting your d&b work.
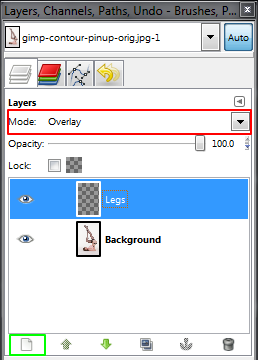
Add a New Layer (Shift + Ctrl + N or Layer → New Layer…) to your image above any existing layers.
Make the “Layer Fill Type” Transparency.
I will usually name the layer something descriptive (“Legs” in this case) so I know which layer does what. This is helpful because you may use differing amounts of blur later for different regions.
Change the layer blend Mode to Overlay.
Now we are set up to begin painting over our image.
Contour Painting
This is where you want to pay attention to what the light is doing to the subject of your photograph. We’ll start with highlighting portions of the image we want to pop a little bit (this is basically a “dodging” action).
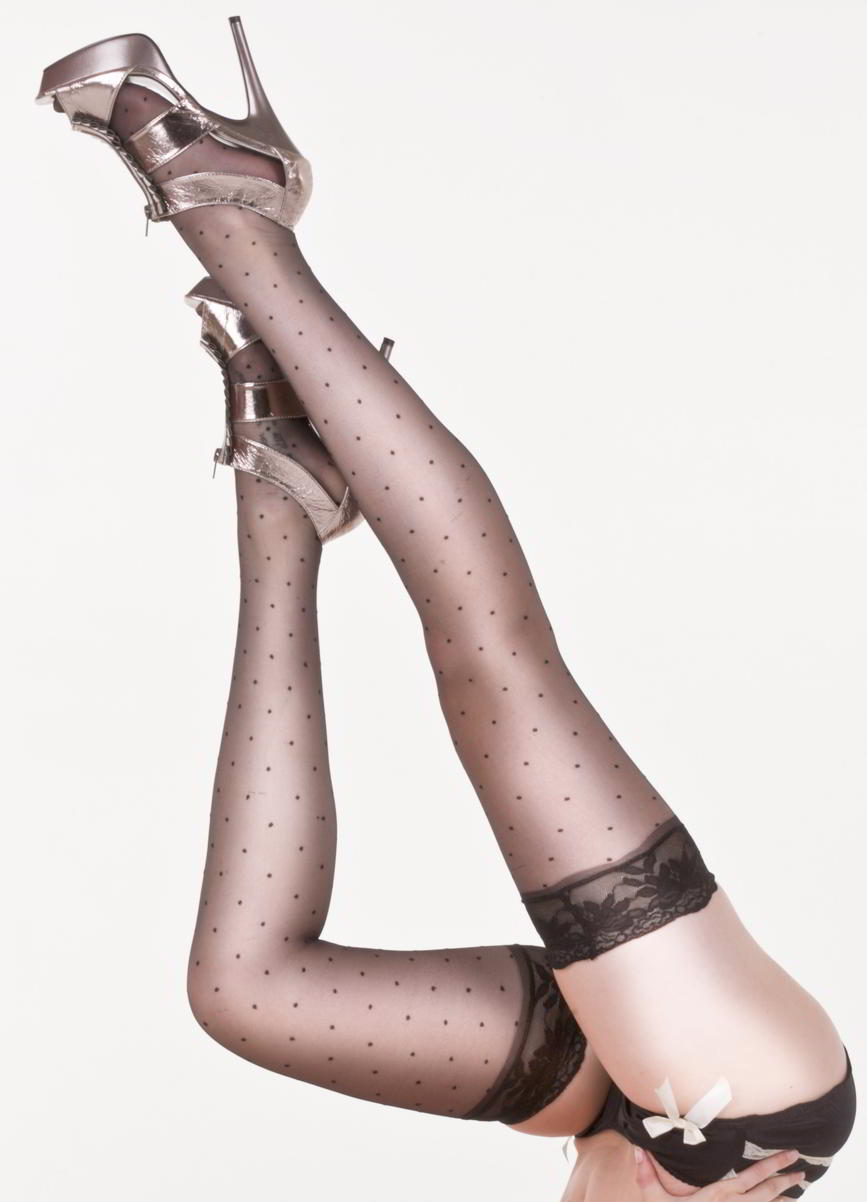
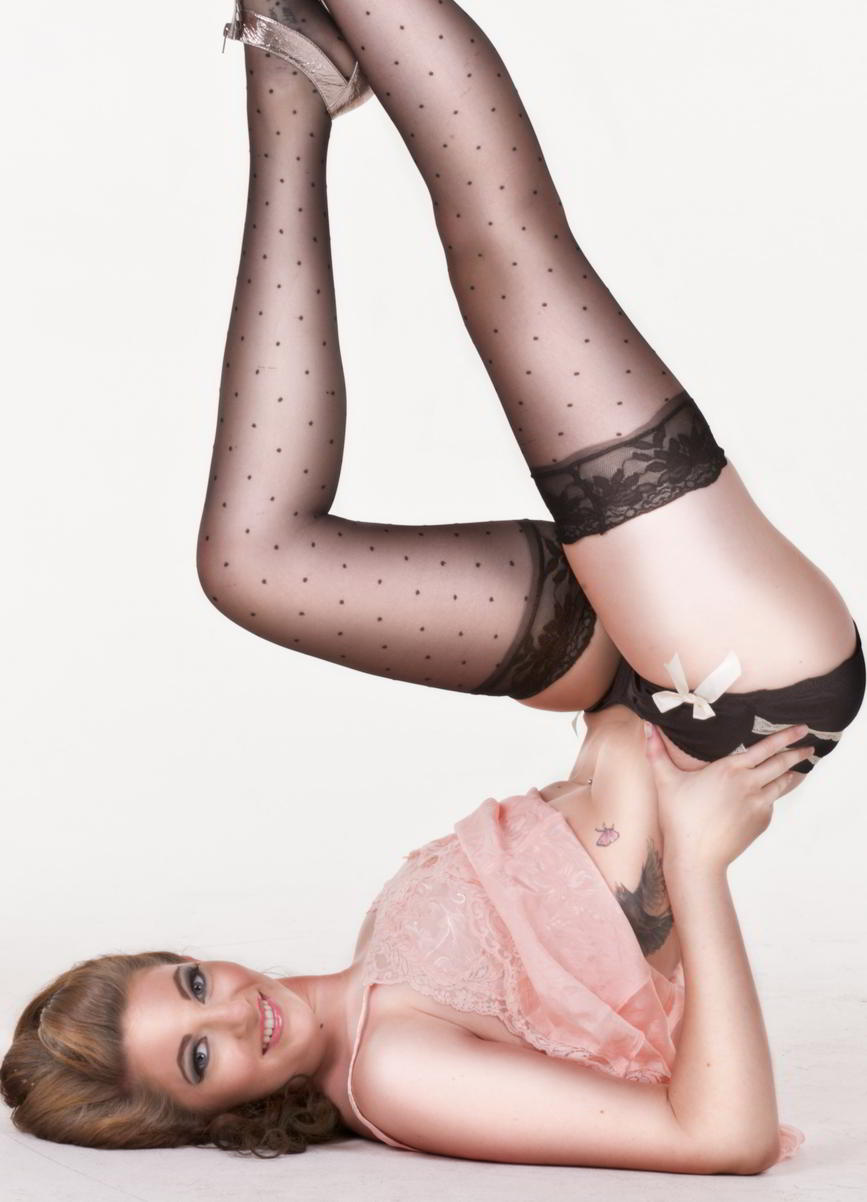
The models legs are really the stand-out portion of this image, so we will start there. Here are the legs before anything is done to them:
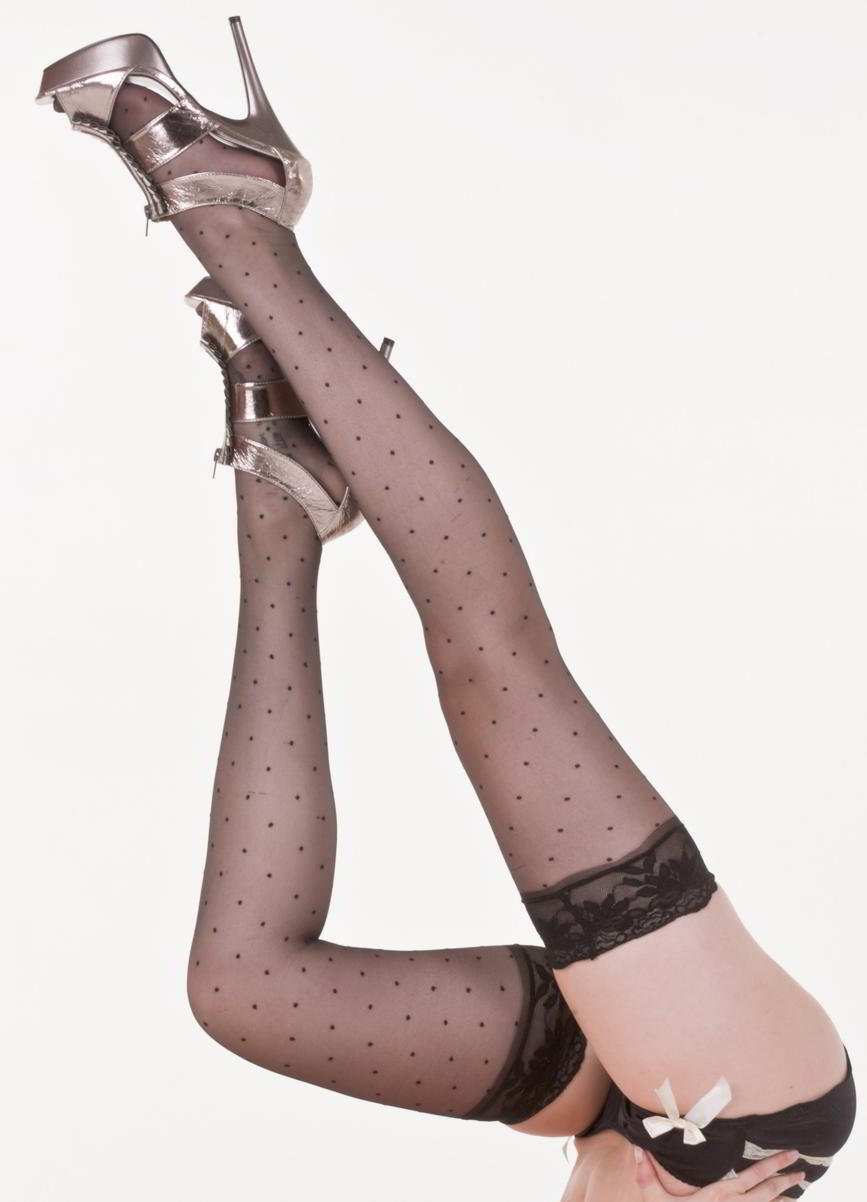
Our original image.
From this view I can determine that I would like to highlight the shape of her legs, and perhaps enhance the volume a bit.
To do so, I will highlight the legs to exaggerate the lighting as it comes from directly in front of the model (notice how the center of the legs are well lit, with a fall-off of light as you approach the edges).
If you look closely, you’ll see that the contour/shape of her leg is well defined by the light hitting the front. That is the guide to where we are going to paint on the highlights (dodging).
Choose your favorite painting tool, and set your foreground color to White. Remember - painting on this Overlay layer means that white will lighten, black will darken, and middle gray will do nothing to the underlying layers.

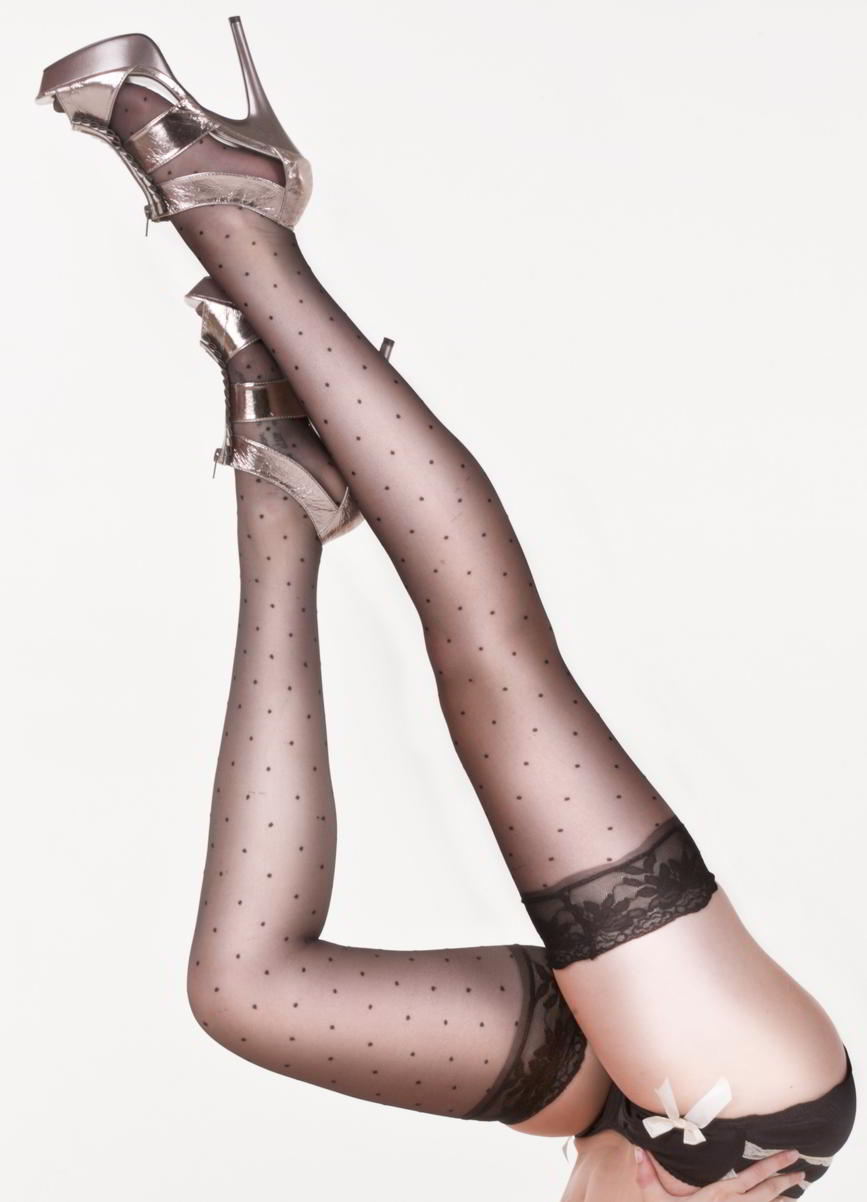
Painting on the contours.
I like to use the Paintbrush tool with a Fuzzy Circle scaled larger to allow me to lay a big stroke of paint at first.
Now paint white onto your “Legs” layer following the contours of her leg.
I don’t have to be pixel-perfect just yet, because I am going to be blurring this white overlay in a moment to soften up those edges. I just aim to get the highlights along the most important areas.
This should get your roughly to where you are wanting to go.
Now I apply a Gaussian Blur to the “Legs” layer to feather out the effect even further. This smooths out the transition, and makes it all look just a bit more natural.
The blur radius depends on the image size and painting size, but in general I try to make it large-ish. In this case it was 88px.
Now those legs are looking sort of shiny!
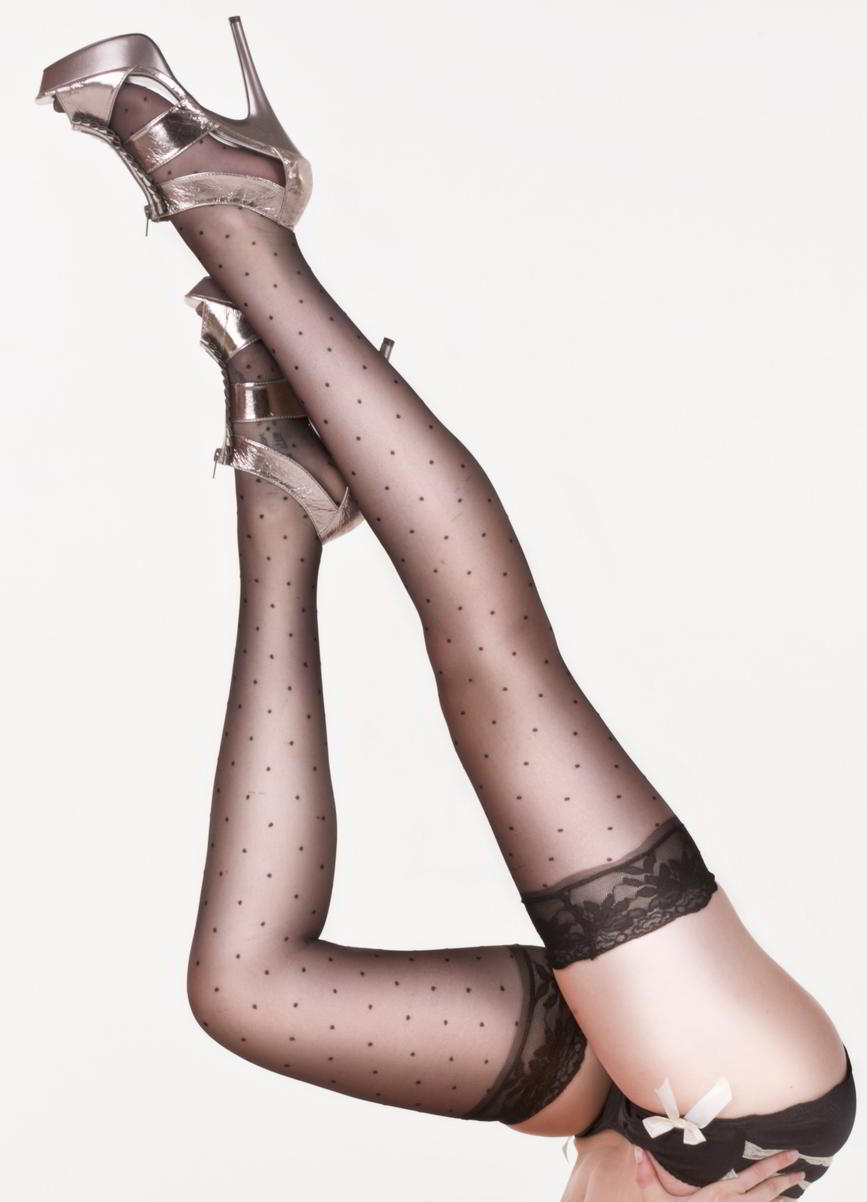
We could stop here, but to exaggerate the effect even further, we can use burning to cause the edges of the legs to drop even darker than they already are.

Painted and blurred ‘burning’ along the edges.
To begin burning the edges of those legs, I’ll add another new transparent layer to the image in Overlay mode. This time I’ll name it “Legs Dark”.
I’ll keep using the same brush, but now I will change my foreground color to black (or any other value darker than gray, to taste).
I will now paint (burn) with a fuzzy brush just along the outside edges of the leg, following its contour again. I don’t usually brush right along the edge, but rather just outside so I just kiss the edges with a little fuzzy black.
I sometimes apply another Gaussian Blur to the dark layer (this is highly subjective and up to you). In this case I did apply the blur - 88px again.
After erasing the burn layer from other objects (like her left foot).
In places where the foreground leg overlaps the background leg, I will then go back and use the Eraser Tool to remove any unwanted burning from the background or other objects (the background in this image is white, so it makes it a bit easier).
Notice the models left foot is now not as dark from spill-over after I erased the burning layer from it.
Also notice that I have only done the right leg at this point. When multiple areas I am burning overlap, I will approach each one on it’s own layer to isolate the work I have to do. So to do her left leg, I would create another transparent overlay layer just to work on her left leg.
Burning the left leg, after cleaning up with eraser.
After repeating the same procedure with a new burning layer, the left leg looks pretty good.
This was done on another Legs layer (“Legs Dark 2” in this case), which allowed me to separately control the amount of spillover with erasing, and will also allow me to independently control the opacity of each leg (to give me even more control over the final result).
That is basically all of the steps in what I call “Contour Painting”. To finish this image off, I would basically repeat all of these steps for each area of interest where I want to paint and enhance the shapes and contour of our model.
The body with no contour painting yet.
To keep the overall shape highlights consisten, I will continue thinking in terms of highlighting the peak areas of skin (basically to keep a consistent look with the legs).
I will apply highlighting to her arms and portions of her face next, as well as the exposed portions of her stomach.
Contour painted highlights on her body.
A couple of new layers and some more contour painting produces this.
Again, a rather high-ish radius was used for the Gaussian Blurs in these cases (~66px this time around - and even smaller when doing finer details like her fingers).
The nice thing about using many layers for these operations is that I can now control the opacity and strength of the effect in different regions independently.
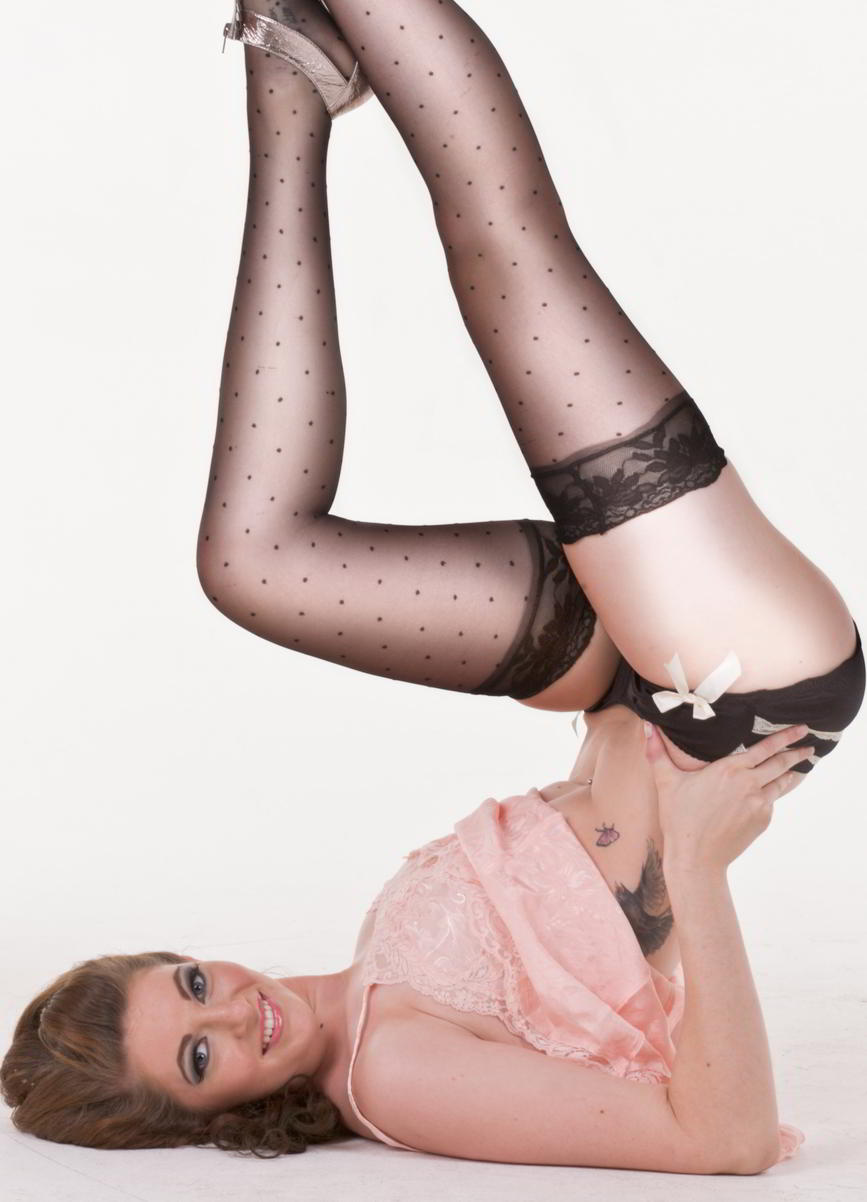
Finally some burning along the contours of her body, along with some added highlights in the hair.
After fiddling a bit more and then adjusting each layer’s opacity until I got something I liked, we end up with this (mouse over the image to compare it to the original):
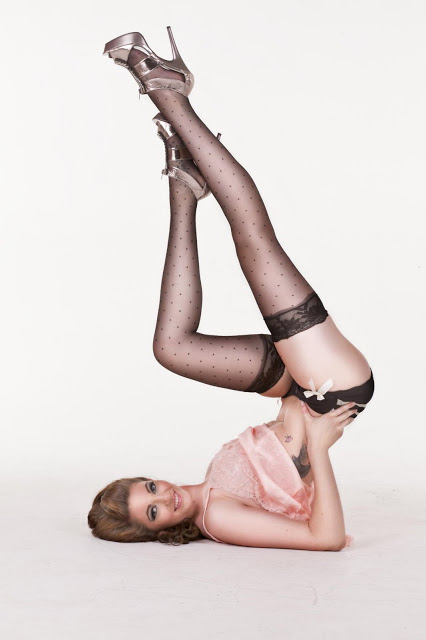
There is still more yet to do to call this a finished image, as we haven’t even touched color effects or pushing the background to pure white, but those are tutorials for another day.
Remember, I used this type of image because we can approach it with a heavy hand and still get results that look good. Also, try thinking about this technique in different terms that aren’t so large. You can use the exact same procedures on features that are much smaller to adjust the local contrasts in whatever scale you’d like. (For instance, if I could have spent time dodging and burning every little fold of cloth in her top, or been more specific with her hair).
If you’ve followed me all the way down here, I have a treat for you: My full .xcf.bz2 GIMP file that I used to create this tutorial so you can fiddle with it yourselves!
I know this tutorial has been long, but hopefully some people will find it useful in some way. After practicing a bit you might find it a regular part of your workflow! If you think it’s been helpful, consider scrolling back up and hitting the “Donate” button (or maybe visit an ad). It helps feed my caffeine addiction!
This basic method can be used on just about any image that you take to give you even more control over the final results. Similar results could be obtained using local contrast enhancements, for instance, but this method really lets you decide where those enhancements could best be targeted.
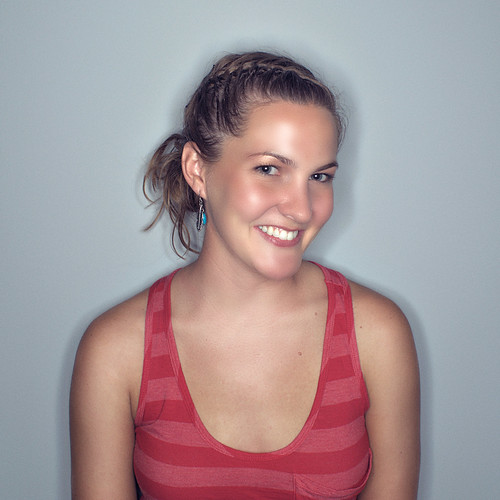
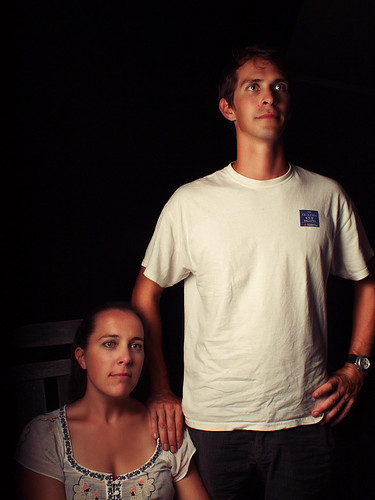
I have found this also works to great effect on children’s skin (which should appear smooth and soft anyway), and I will usually do some sort of contour painting on most of my images (even if it’s just a tiny amount). Here are just a couple of other examples where I used this same technique: