ImageMagick Average Blending Files
Back in 2003 Xeni Jardin posting on boingboing highlighted artist Jason Salavon’s work involving averaging together Playboy centerfolds by decade. The works he produced were haunting and beautiful to me (and a little geeky, too).
Those four images represented the four decades from the 1960’s to the 1990’s (left to right). The prints were made with code that he wrote in C on Unix based SGI machines.
These “Amalgamations” (to coin his phrase), are simply stunning to me. So in the sincerest form of flattery, I had to see if I could replicate the results in some fashion with more modern tools (Jason began his work blending the Playboy images back in 1997).
My first thought was to approach this using GIMP. After a few tries and experimenting I found that a better approach would be to use ImageMagick instead. It’s just better suited for this type of processing.
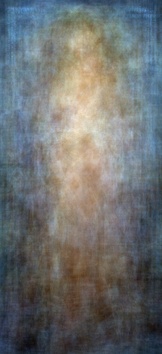
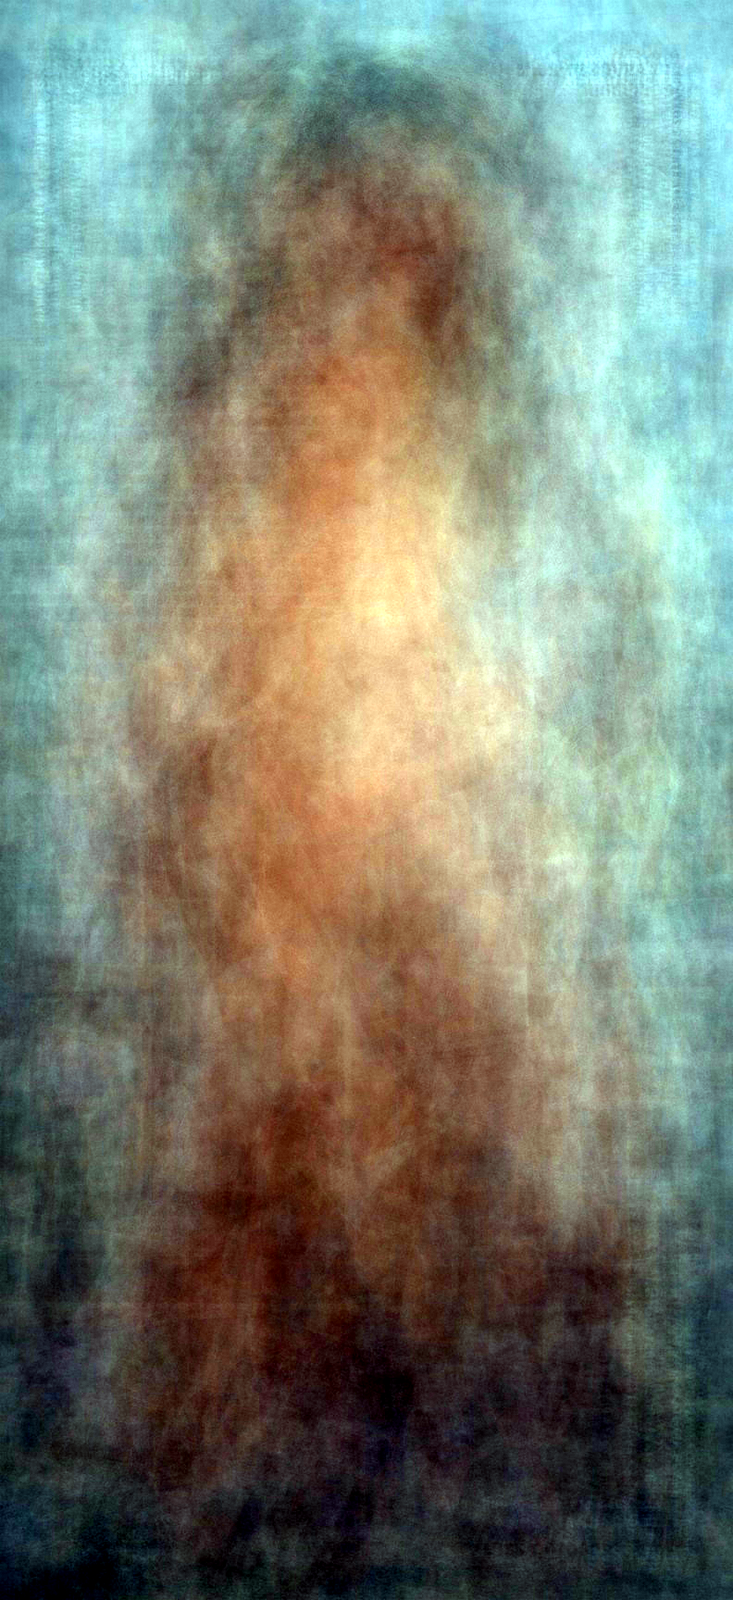
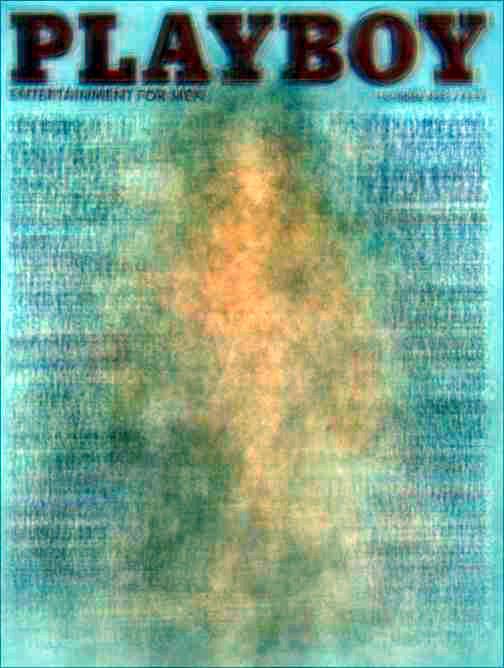
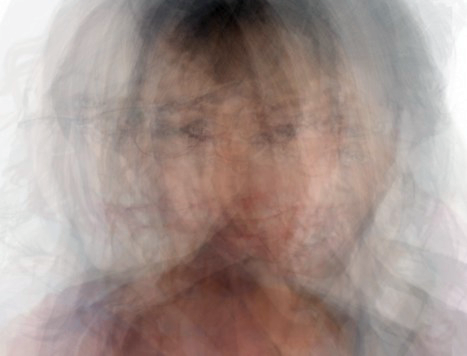
Let’s have a look at the results before we delve into the ImageMagick commands… My first attempt was to replicate the results against all of the 1960’s centerfolds to see if I could attain something similar (to validate the process):
Results after averaging all the centerfolds.
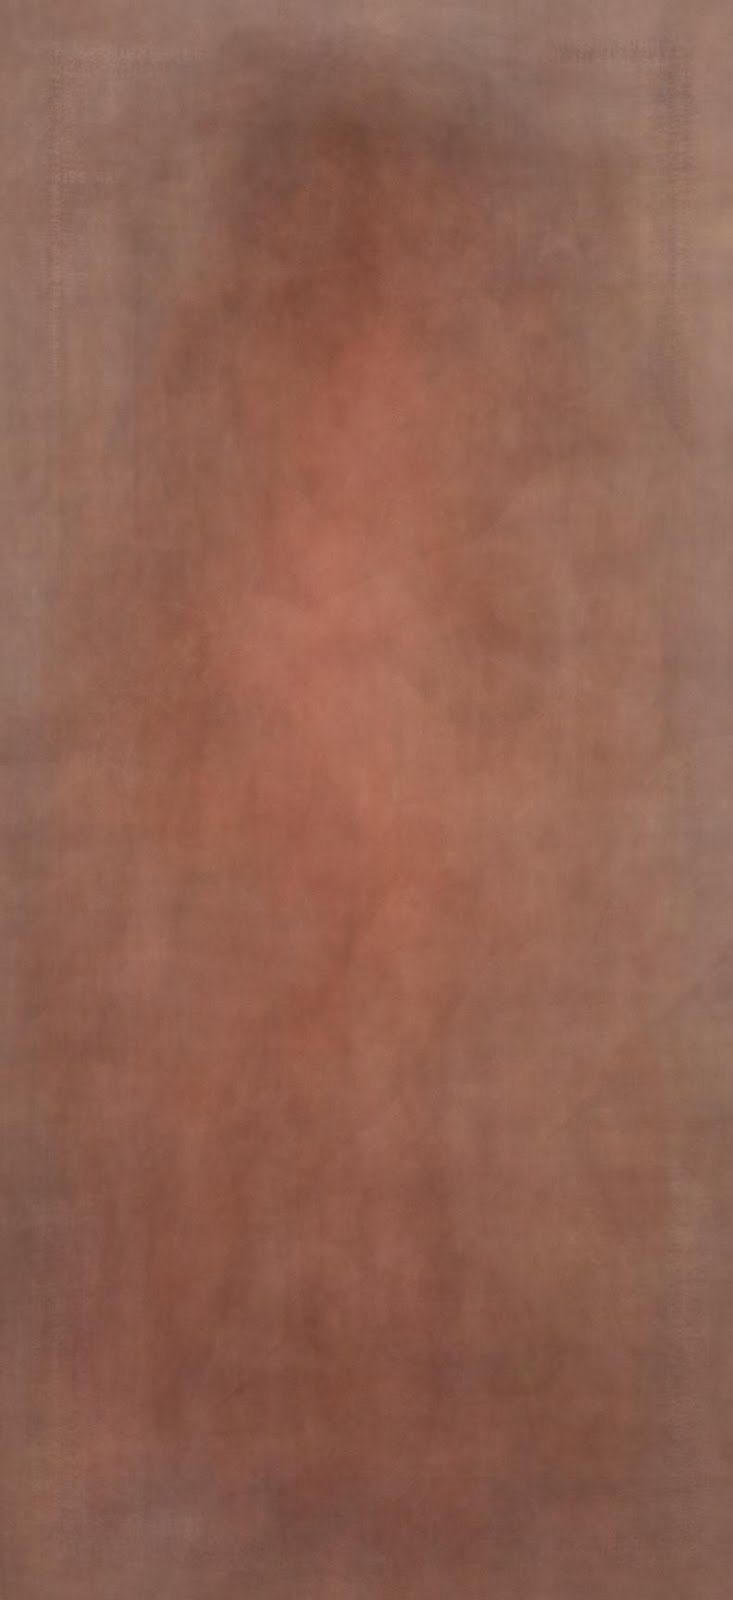
After running Levels → Auto in GIMP.
Overall I was pretty happy with the results!
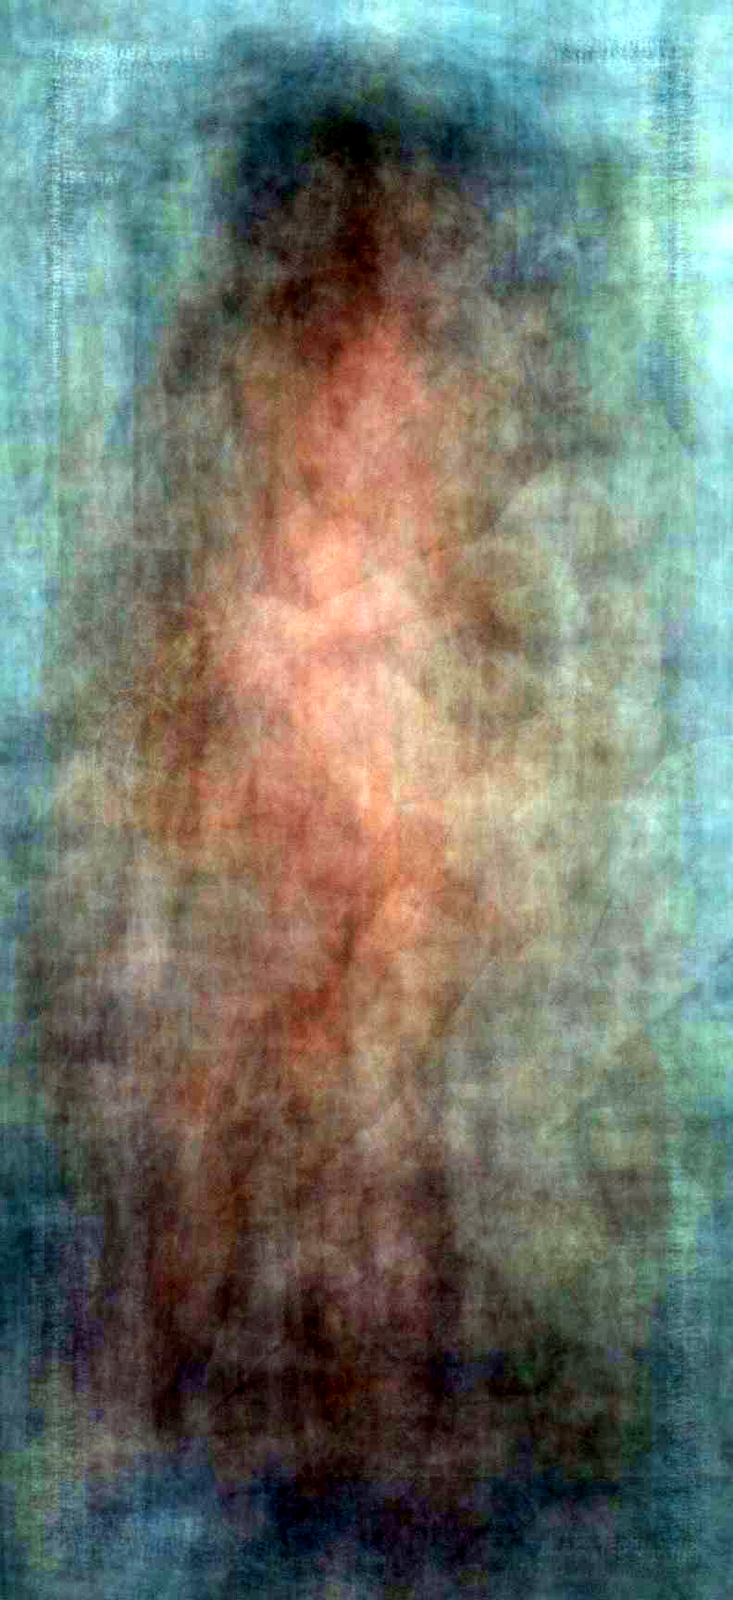
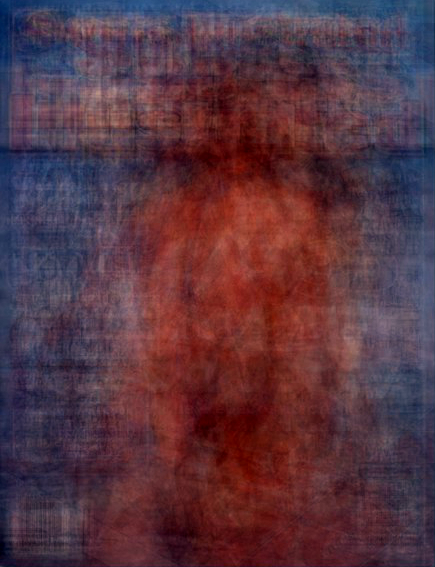
In my case I rotated any images that were wider than they were tall to maintain the aspect ratio. While I was testing out the commands I also thought it would be neat to allow the horizontal images to remain that way, and to pad the dimensions to create a square result:
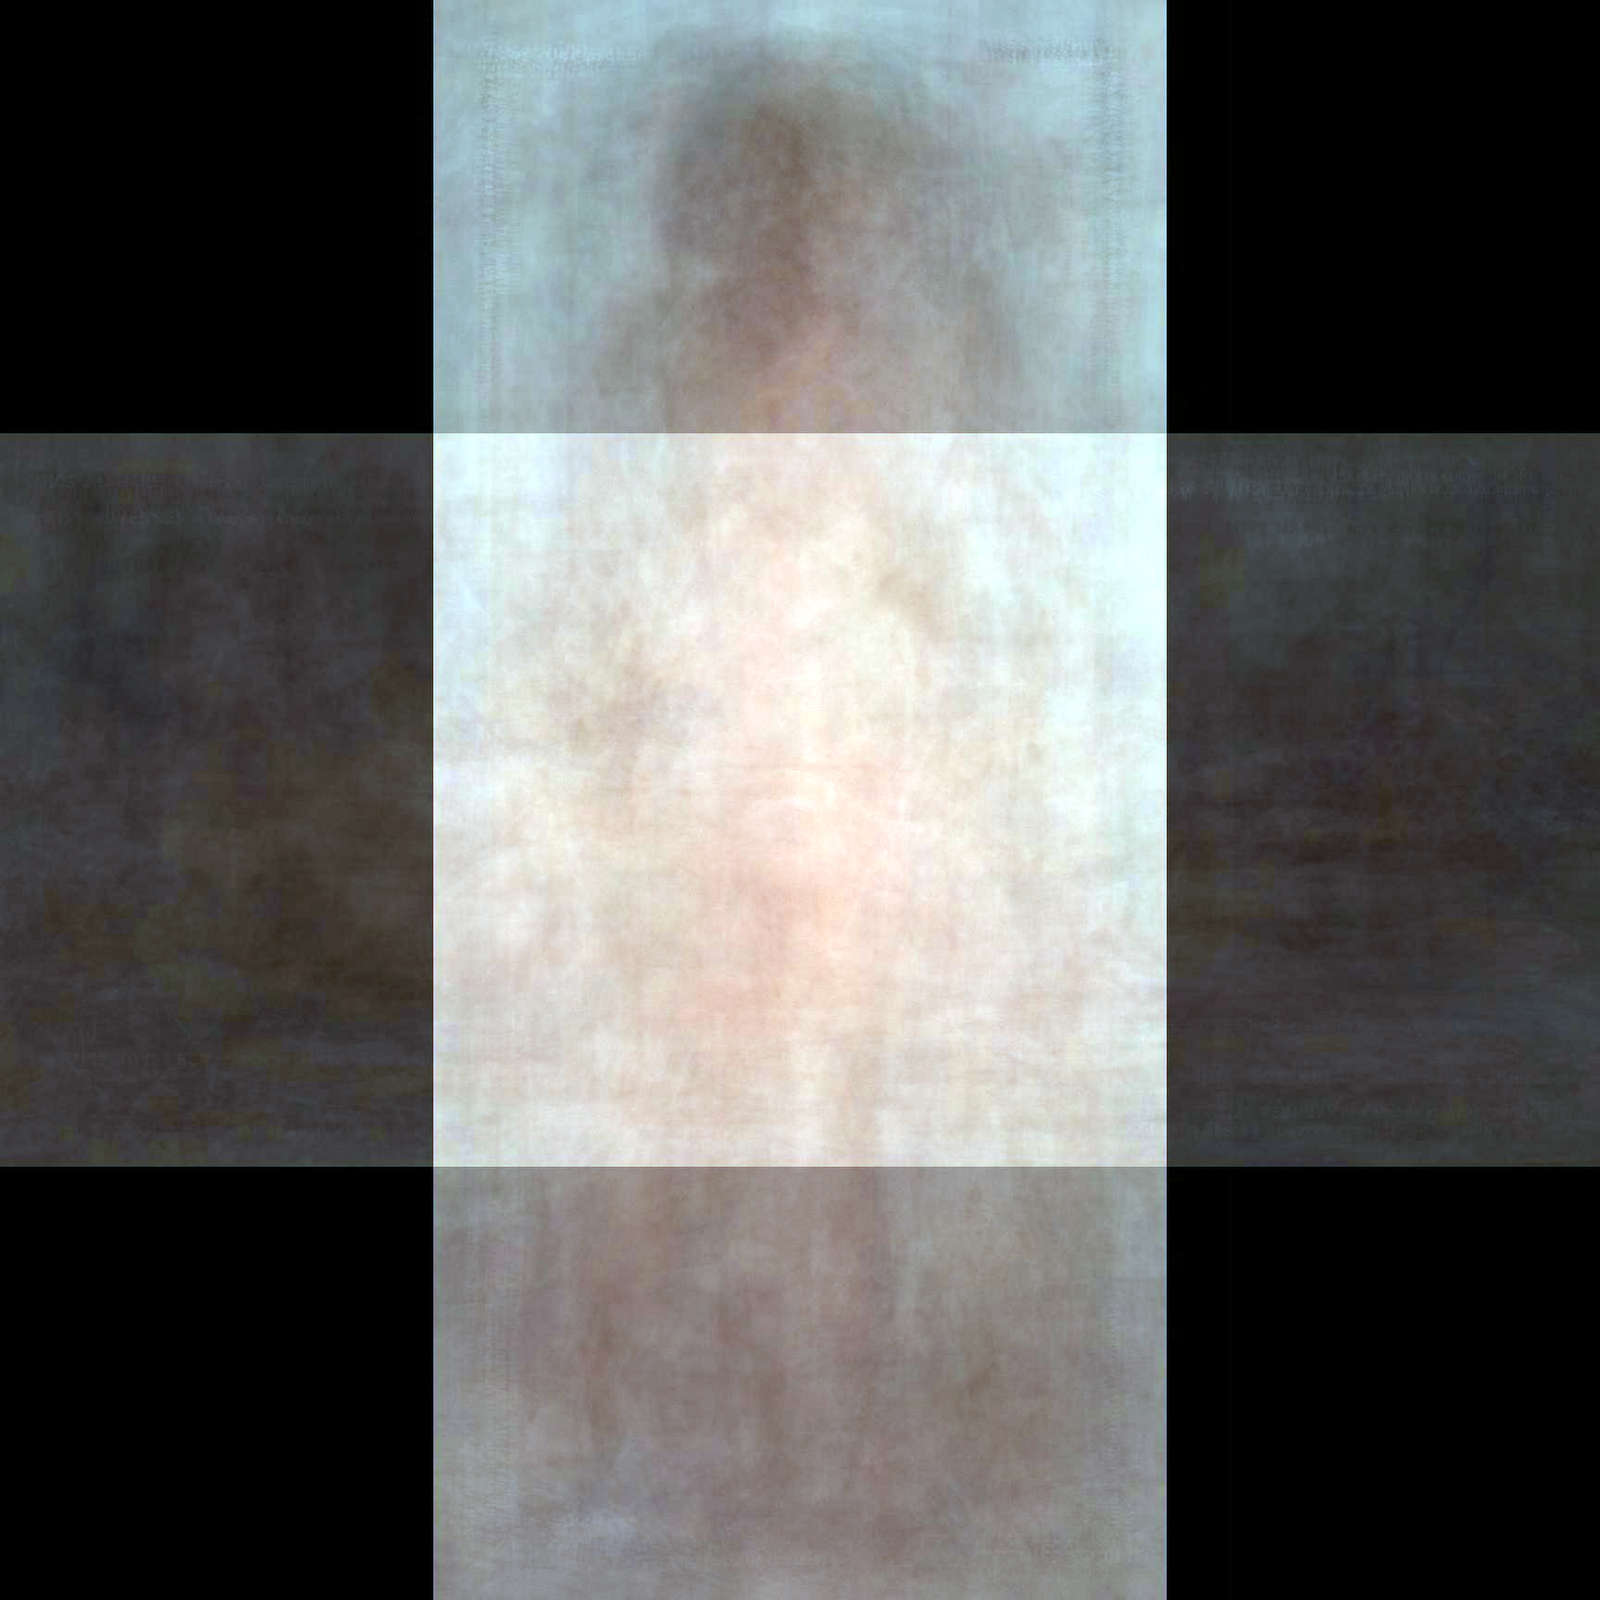
Not rotating the horizontal images, and centering/squaring produces this.
The result here is interesting because we also get a feel for the frequency of using horizontal spreads vs. vertical.
So I can confirm that the method appears to work. Just how do we do this?
ImageMagick Commands
There are two major things to consider when approaching this process:
- Are the image sizes the same? If not we will have to resize and expand
- Do you want to rotate horizontal images, or leave them as is?
These two options will have an influence on how we approach the commands we use. I will assume (to be safe) that none of my images are quite the same size, and that I do want to rotate wider images.
I also scanned through my images and determined that a the smallest image I wanted (or had available) would be 792x1728 - I will want to shrink all images that are larger than this to fit.
Here is the full command I used:
convert -background transparent *.jpg -rotate "90>" -resize "792x1728>" -gravity center -extent 792x1728 -evaluate-sequence mean output-rotated.jpg
ImageMagick commands are lately best read portion by portion as they operate on your images, so let’s break this down:
convert -background transparent *.jpg
Start the “convert” command up, and set the background color to transparent for my operations. Also, load up all of my jpg files into memory.
-rotate "90>"
If any of the images are wider than they are high, rotate them 90°.
-resize "792x1728>"
Any images larger than 792x1728 should be resized down to fit in these dimensions (maintaining aspect ratio).
-gravity center -extent 792x1728
Keeping the images centered, extend the images so that they fill up the 792x1728 space (the padding will be filled with the background color - transparent).
-evaluate-sequence mean output-rotated.jpg
Finally, once all the images are now rotated and the same size, do an arithmetic mean on their pixels (average), and write the final output to output-rotated.jpg
Another version of the command above can be modified if I do not want to rotate any horizontal images (to create the square version above):
convert -background transparent *.jpg \
-gravity center -extent 1728x1728 \
-evaluate-sequence mean \
output-non-rotated.jpg
In this case I am not rotating anything, and padding all my images with transparency up to the extent size (1728x1728), then running the average. It should be noted that 1728x1728 is ** as large or larger ** than all of my images (otherwise a resize would be required).
More Results
With the command line stuff out of the way, let’s take a look at some more interesting results I obtained playing with these options!
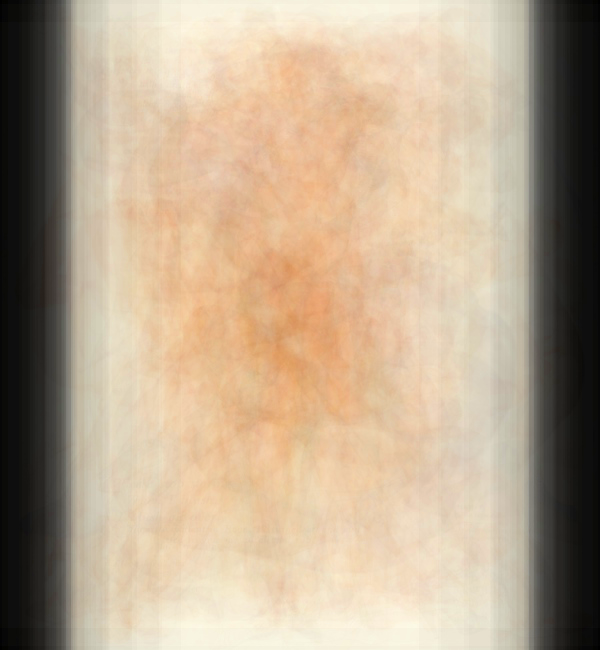
Continuing with the theme of Playboy centerfolds, here are the 1970’s:
1970’s normalized.
And what would decades of Playboy covers look like? (Honestly, the hardest part of creating these at this point is finding a decent archive of Playboy covers to use as source material… I would almost consider springing for the Playboy Cover to Cover Hard Drive - Every Issue From 1953 to 2010 if it wasn’t so damn expensive!)
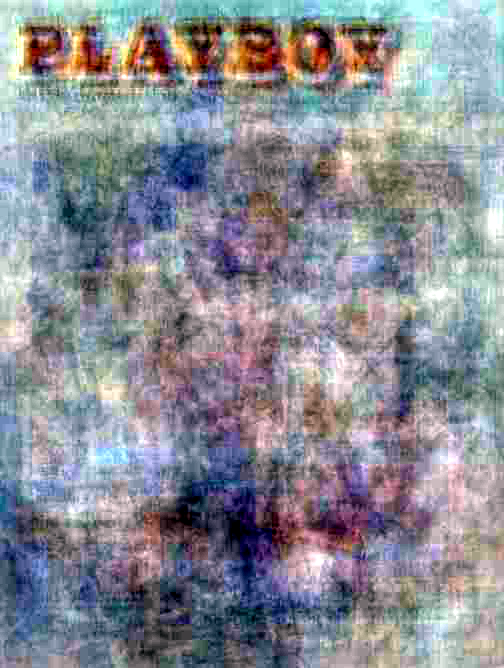
1950’s
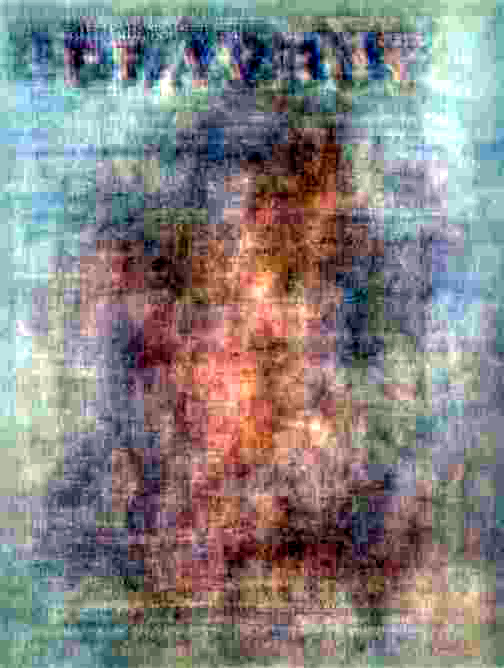
1960’s
1970’s

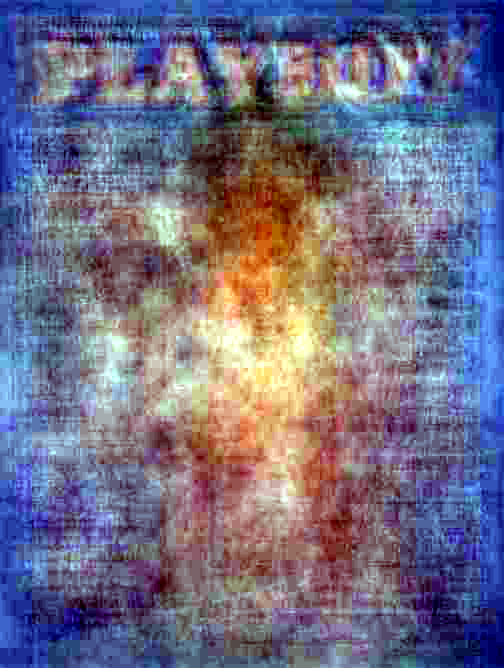
1980’s
1990’s
It would appear that over the years Playboy finally dialed in their title placement, as well as their model placements on the cover (they really got there in the 80’s best, I think).
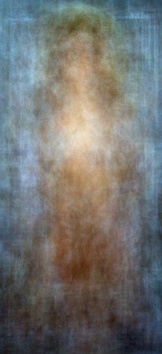
Enough with the Playboy, I think. At this point my keywords are going to make my blog look like a spam site. So let’s switch over to something slightly less salacious, and have a look at all the covers of the Sports Illustrated Swimsuit issue! :)
Every cover of the SI Swimsuit edition through early 2000.
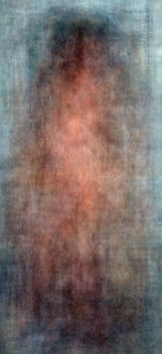
And let’s finish up with something just a little more classy. Alberto Vargas may be the most famous name in classic Pin-up paintings, and interestingly the combination of all of his paintings is a little more tame. I came across a nice archive of his work at The Pin-up Files website.
All of Alberto Vargas’ paintings at once.

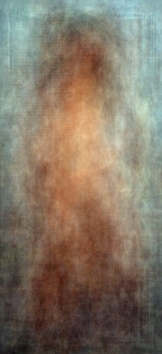
Gil Elvgren is another famous name in Pin-up artwork. Here’s a taste of what he produces when combined:
Gil Elvgren’s works combined

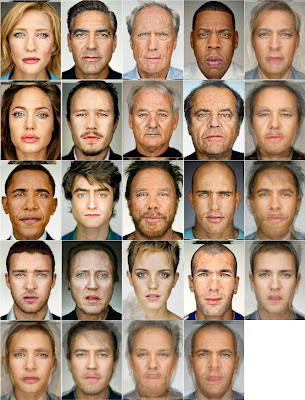
And for something just a little more contemporary, here is a blend of all the headshots from Peter Hurley’s sample portfolio of Leading Ladies:
Peter Hurley’s Leading Ladies

In each of these I brought the final output images into GIMP for adjusting levels. I normally just went ahead and let the Levels tool auto-adjust for me, but I did look at stretching contrast (+hsv) to see the results. In the end I think I preferred the Levels → Auto the best.
Give it a try and let me know how it turns out, I’d love to see some other cool visualizations of sets of photos in this way!
Also, if Jason Salavon ever reads this - thank you for turning me on to a great and interesting processing technique! Your results are amazing!
I’ve also tried my hand at blending a bunch of celebrity faces together as well, have a look here: