
Mairi
I finally got a chance recently to quickly photograph my friend Mairi.
She’s a beautiful woman who happens to be a keen-eyed photographer as well. The best part, though, is that she has modeled in the past, which made her the perfect person to shoot with! Seriously. The value of having someone who knows what to do in front of the camera is amazing.
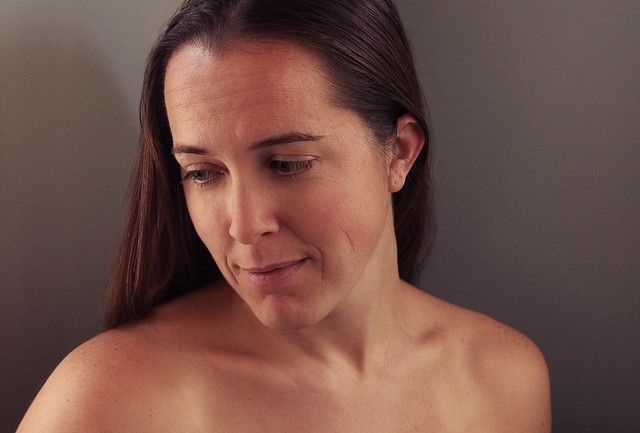
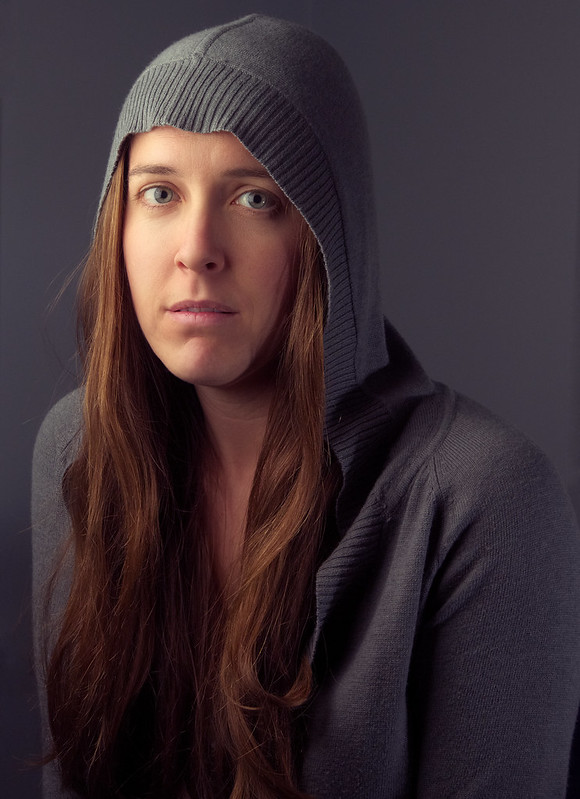
For example, the image above, Mairi 4, was one of two images that I asked her to pose specifically for (Mairi 9 is the other one). All of the others were taken with no direction from me, and just letting her do her thing.
This shoot was also fun because it was no stress, just to try some things out. I don’t have a studio, but I do have a room with big windows on three sides, and a nice gray colored wall in a corner. When we started, it was still sunny out, and the windows acted as giant, diffuse light sources. Unfortunately, I only managed to get one image I liked shooting in natural light…
I had a rough idea of how I wanted to light the image with flashes, though. I have a pair of Yongnuo YN-560 Speedlight Flashes that I’ve been using for a while to learn (strobist) lighting with. They are fully manual flashes (which is perfect for me - I like the control for these types of shoots).
Shooting bare flashes is really, really harsh, though. A while back when I got my first flash, I threw together a quick DIY softbox from some foamboard and an old white pillowcase. Pretty much the same build as this one on diyphotography.net. Total cost? About $8. This thing has been worth it’s weight in gold for me!
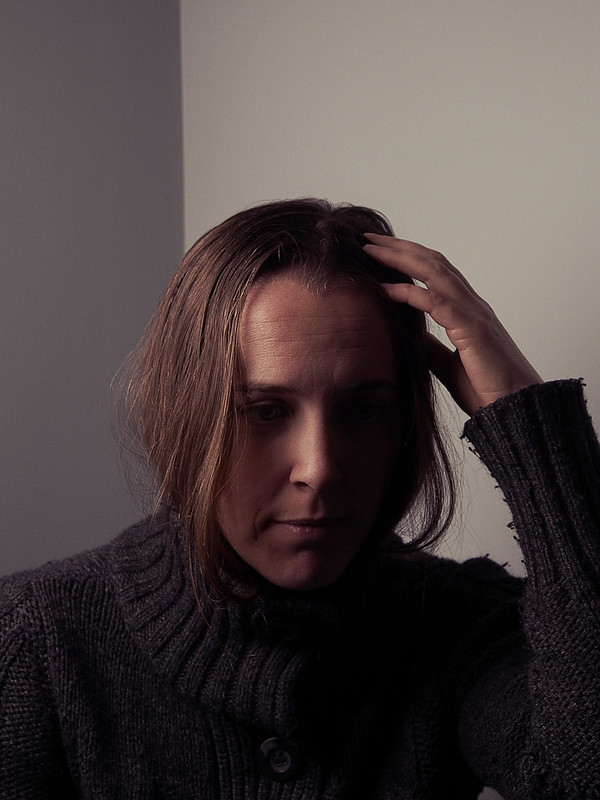
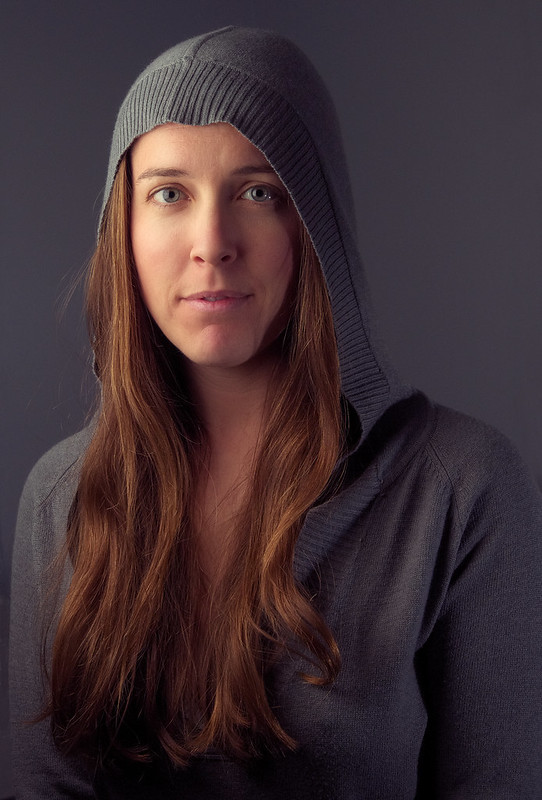
My first test shots were a little too close to background (didn’t want the wall to get so much spill light), and there was a bare flash camera right that wasn’t dialed in yet.
Still, I liked the result in this image. I thought the juxtaposition of the dark left, brighter right on the rear wall vs. the lighting on her face was visually interesting. So a happy little stroke of serendipity.
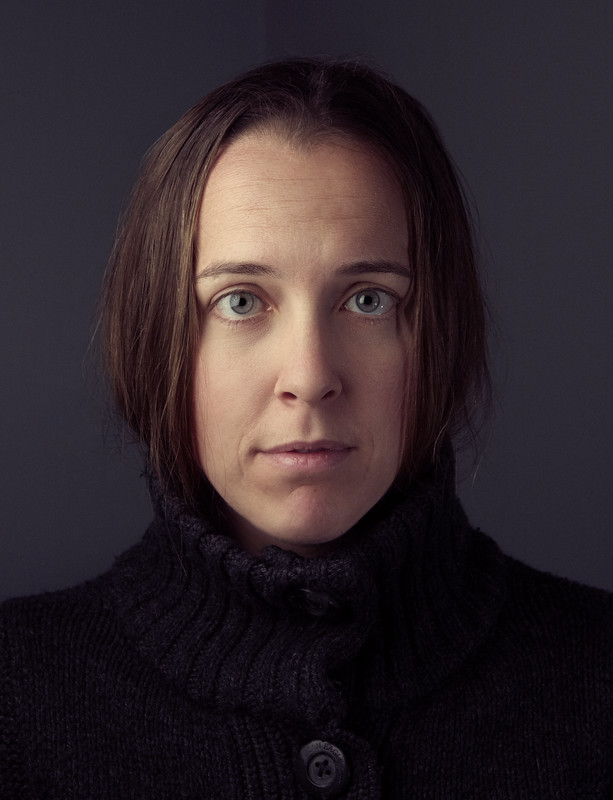
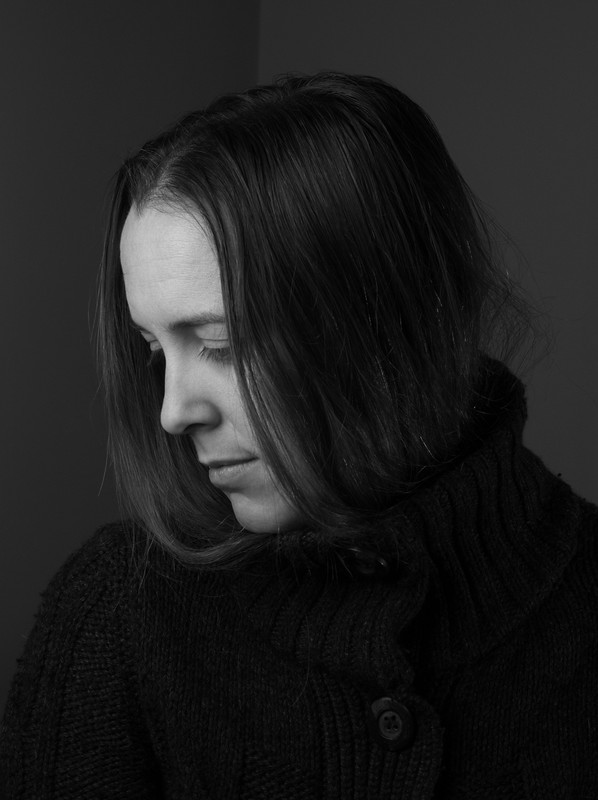
Of course, after having recently written a rather long-winded tutorial on B&W conversion, I couldn’t help myself while I was working with a moody single light source…
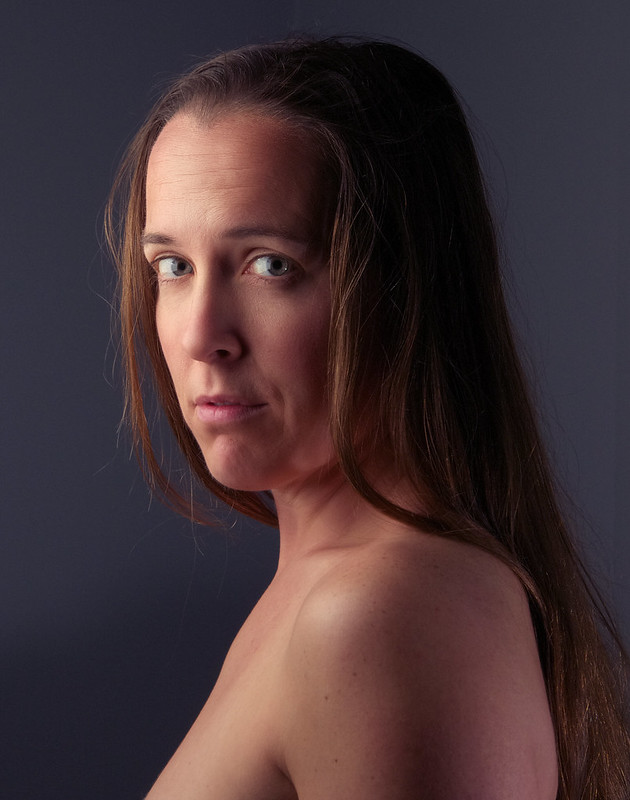
Eventually I got my lighting dialed in to where I wanted it. I moved the Mairi and the softbox (taped to an old microphone stand!) further away from the rear wall in order to darken it. This finally got the results I was looking for…
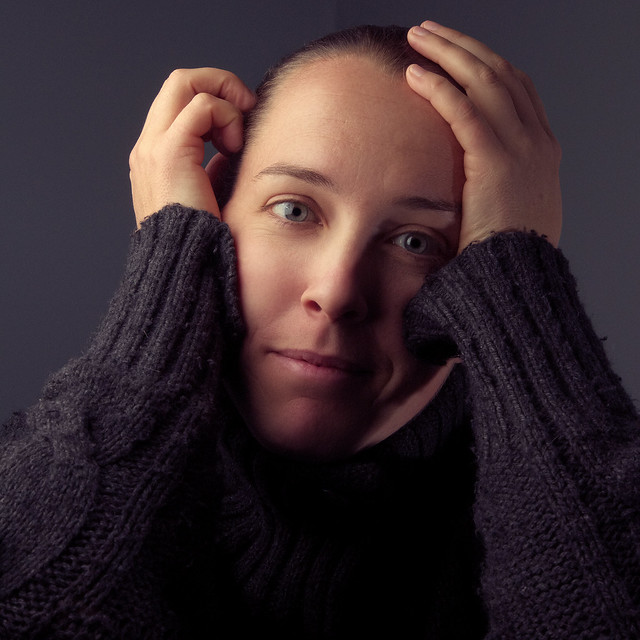
At this point I just let Mairi do her thing, and she moved easily through a handful of poses for me. The whole thing was very organic and fun! The amazing thing is that we shot all of these images (almost 200!) in about one hour.
I realized a couple of neat things while working on these images. My workflow is pretty much entirely all Free and Open Source Software (F/OSS).
I manage all of my files through regular file management tools and the command line (though there are great pieces of software out there for it). The three main pieces of software I’ve been using lately are:
- Exiftool by Phil Harvey This is usually because I lose EXIF data between Rawtherapee and GIMP, but also for bulk file manipulations like sorting into folders/etc...
- Rawtherapee for developing my RAW files. (no Darktable build for windows yet, and I like my tools to be consistent across environments)
- GIMP - do I really need to say anything here?
I figured that with a fully F/OSS workflow, it might be nice to do another tutorial series on the entire process from setup, to lighting, to shooting, to developing, and finally to retouching in GIMP!
I guess what I mean to say is, the next set of Getting Around in GIMP tutorials will be based on fashion/portraiture workflows and retouching from beginning to end. Stay tuned!