
Using Imagemagick to Create Contact Sheets (Montage)
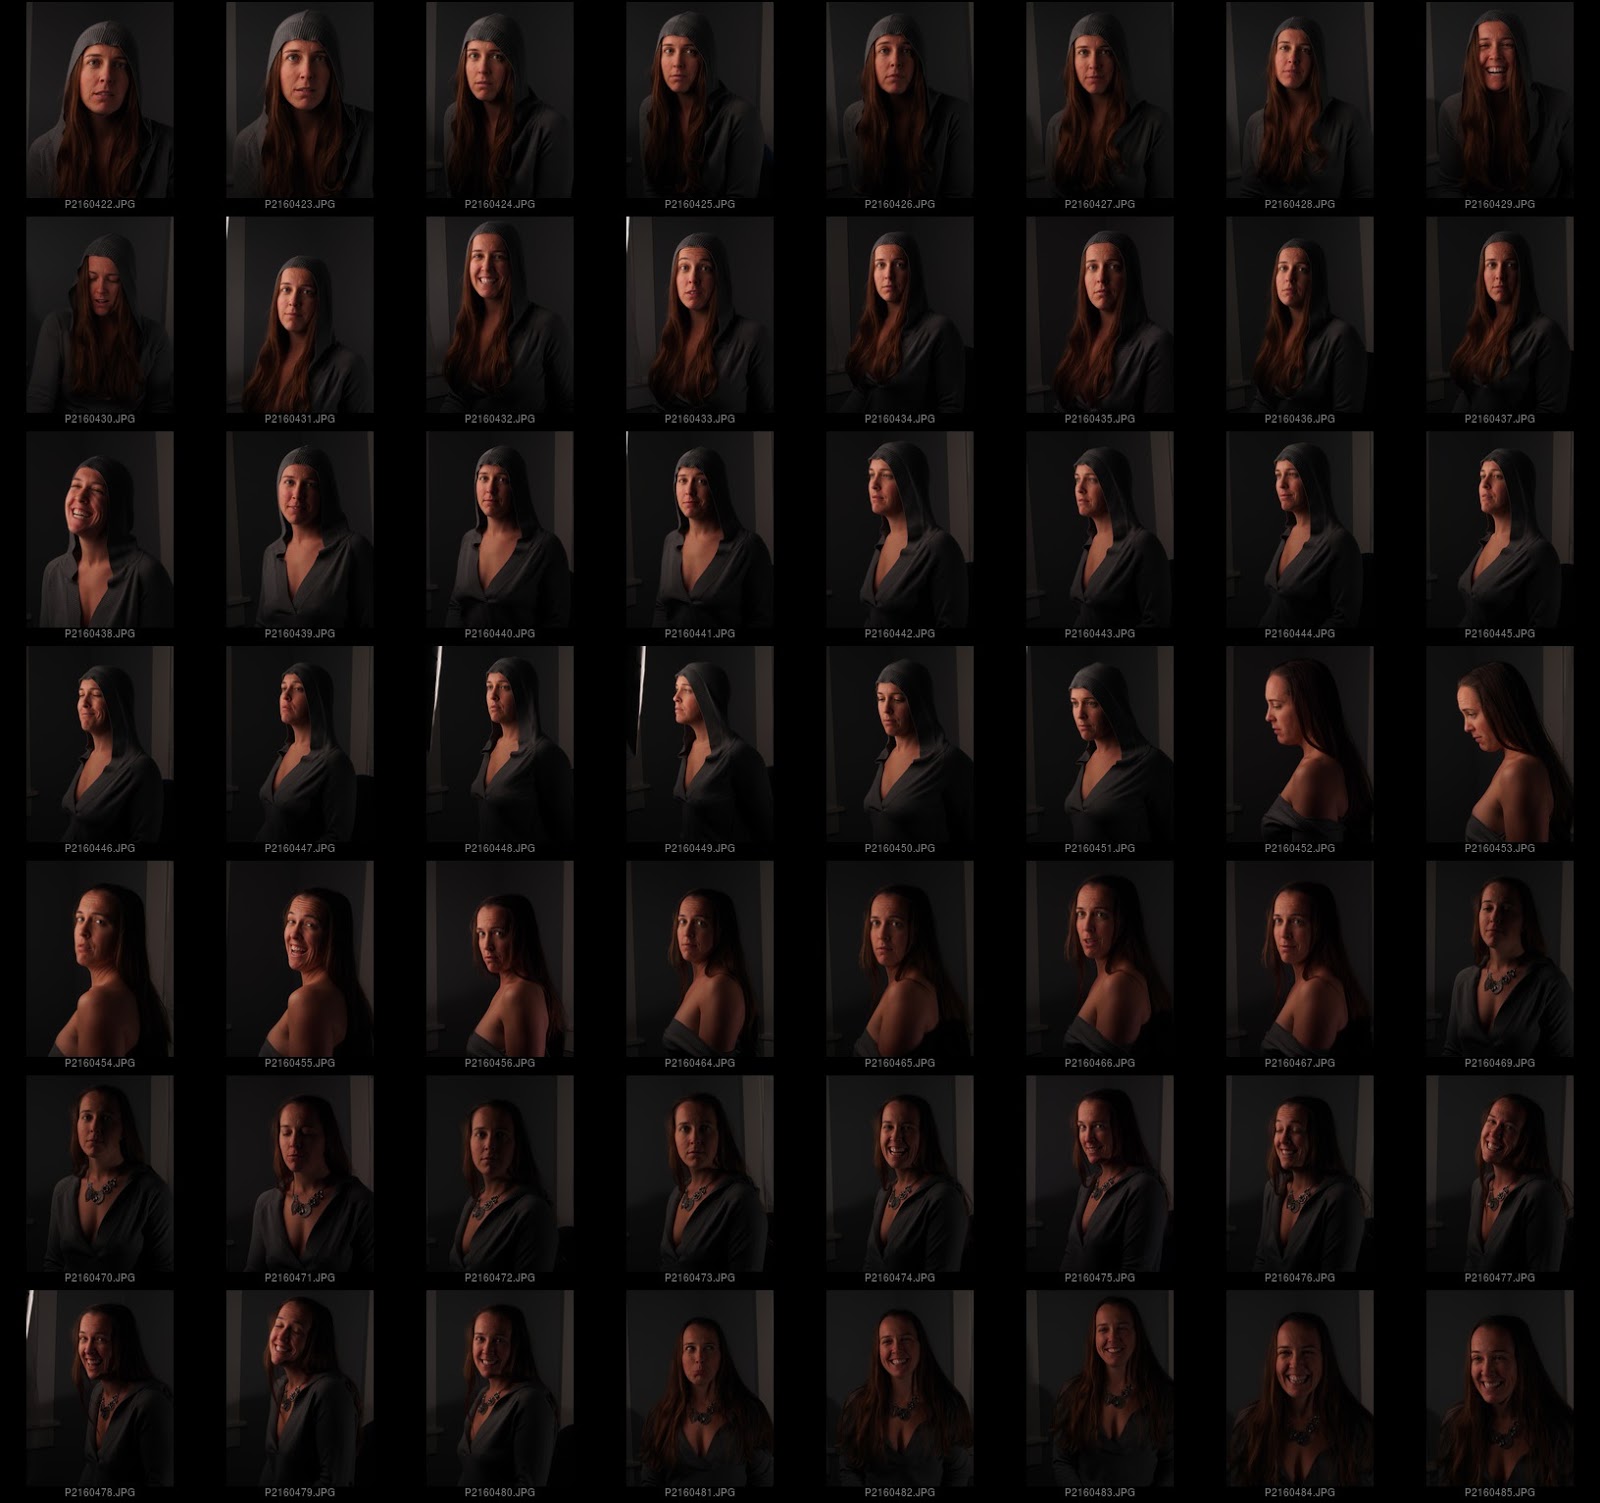
In my previous post on postprocessing my Open Source portrait, I had shown a couple of contact sheets that I had generated to help me narrow down which images I liked. That contact sheet looked like this:
Contact sheets are a great holdover from the days of film, when you wanted a big overview of all the shots on a strip of film. After developing the film, you could just lay a sheet of photo paper under the enlarger, lay your strips of film on top, put a glass plate over the whole thing to hold them down, and then expose with white light for a small amount of time.
This would produce a single sheet with all your images as thumbnails:
(Gerald_Ford_Library).jpg)
This is probably redundant these days with the ability to look at a directory listing as thumbnail images, but I still find uses for this type of image.
My personal photos are kept on a backup server. That computer has no monitor, keyboard, or mouse. The main way I access it is through shares on my network. If I’m off-site, I’ll access my network using SSH.
The upside is that it’s wayyy faster than using a GUI. The downside is that there’s no GUI…
The machine I’m SSH’ing into does have my Dropbox account linked, though. So what I do is run Imagemagick Montage on the machine I remote into, and have it generate a “contact sheet” for me, placing it into my Dropbox folder.
Wait a few minutes, and voila! Instant contact sheet for me to peruse on my local machine. Here is what my montage command looks like:
montage -verbose -label '%f' -font Helvetica -pointsize 10 -background '#000000' -fill 'gray' -define jpeg:size=200x200 -geometry 200x200+2+2 -auto-orient P21603{65..70}.JPG ~/Dropbox/contact-dark.jpg
Yes, it looks scary. I promise you, it’s not. As usual, let’s have a look at the command line option by option to see whats going on…
montage -verbose -label '%f' -font Helvetica -pointsize 10
Fire up the montage command. Set it to -verbose output to see whats going on.
Label all the thumbnails with the filename, using the font Helvetica at a point size of 10. See, not too bad so far!
-background '#000000' -fill 'gray'
Set the background color to black (#000), and the fill color for the label text to gray.
-define jpeg:size=200x200
This one is interesting. I found that if I tried to run the command on a full directory of jpegs, I would quickly run out of memory. This is because imagemagick will read in each file and keep the full size image in memory until it’s done. Holy Mackerel!
So this option tells imagemagick to resize the jpeg as soon as it’s read in, and to only keep the smaller version in memory. This significantly speeds up the process of generating the contact sheet.
-geometry 200x200+2+2
This just tells imagemagick to set each thumbnail size on the final output to be 200x200 pixels, with a 2px border around them.
-auto-orient
Rotate any images to their correct orientation as specified in their metadata.
P21603{65..70}.JPG
Now this is interesting. I’m not sure if this will work in Windows, but it does on a BSD/OSX/*nix shell. I can specify a numerical range of images that I want to be in my final output.
The above command will basically be expanded so that the input files are:
P2160365.JPG
P2160366.JPG
P2160367.JPG
P2160368.JPG
P2160369.JPG
P2160370.JPG
If you wanted to just do all the images in the directory, you could use the normal glob syntax for all JPG images:
*.JPG
I did this to limit the final size of the output contact sheet to a range of images. For both final size as well as memory limits on my machine (especially if I had hundreds of images in my directory.
I could also have done it by using the glob syntax. For instance, if I wanted all the images in the 600-699 range, I could have used:
P21606*.JPG
Or any variation on that (I’m not going to get into the syntax here, but there are plenty of references around for it).
~/Dropbox/contact-dark.jpg
Output the final image “contact-dark.jpg” to my Dropbox folder.
That’s about it. That command puts out a nice contact sheet for me to quickly eyeball and find images that I like. From there I can narrow it down and look more closely at the final picks.
I could even go so far as to use this command as part of a shell script that can recursively walk through all of the folders of my photos, and to output contact sheets for each one if I wanted. I may get into that at another time…