
Faking an ND Filter for Long Exposure Photography
So, I’ve had this idea bouncing around in my head for a bit, and figured it might help me to get off my ass and actually try it out if I described my thought process.
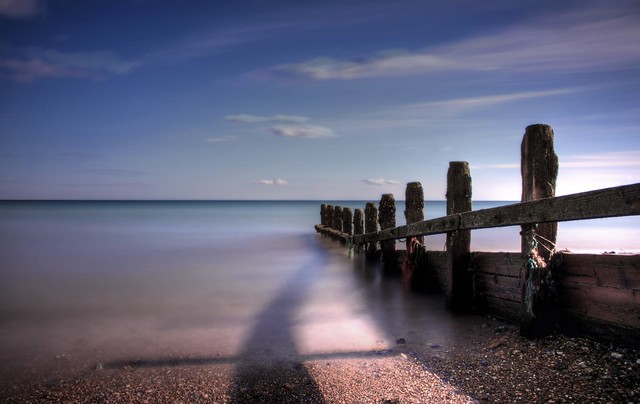
Long Exposure - Shanklin by Richard ‘Tenspeed’ Heaven, (cb) 5 sec f/32 ISO 100
I’ve been wanting to get some ND filters to experiment with daytime long exposures for a while now. The problem is that I’m lazy. So when I say “for a while now”, I really mean that it’s been like 3 years.
I had previously written about using median stacks to remove noise from an image, as an easy way to remove non-static objects from a scene, and to create interesting artwork. It’s those last two things that got me thinking…
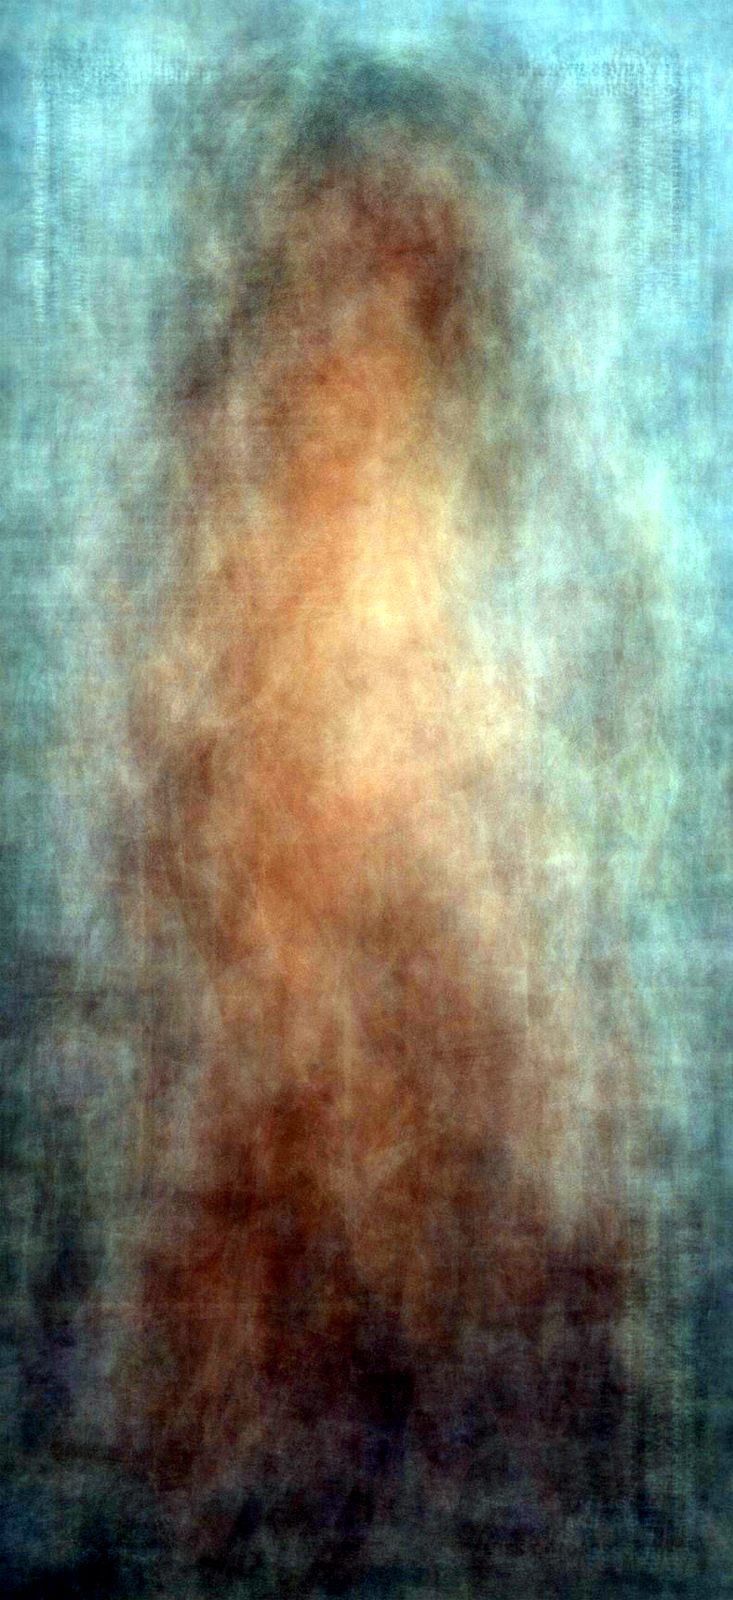
All of the Playboy Centerfolds from 1970
This is one of the first amalgamation images I did after seeing Jason Salavon’s incredible work. This is all twelve centerfolds averaged together. While I think it’s neat, it’s more interesting when you begin to view it in the context of a typical long exposure image.
Do you see some visual similarities between the water in these long exposure images, and the centerfold image?
This similarity led me to realize the main point of this entire post:
Theoretically, there should be no difference between a single long exposure image, and multiple short(er) exposed images that have been averaged together. It helps to visualize the fact that when taking a long exposure image, the camera is averaging over the duration of the exposure. I know this is probably “Duh!” for most people out there, but for me it was a “Eureka!” moment (it takes me a bit longer to get things).
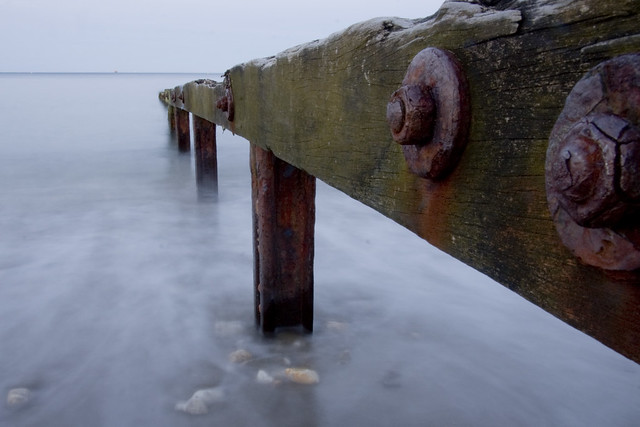
Looking at the Exposure
So let’s have a look at the numbers for the image, Long Exposure Groin , above. According to the photographer, Paul Chaloner, the image was exposed for 30 seconds, at f/22 ISO 200. For this discussion, I am going to assume that the ISO is already set to it’s lowest acceptable value.
With that in mind, we can see the relationship of shutter speed and f-stop in this table:
| f Aperture | 0.7 | 1 | 1.4 | 2 | 2.8 | 4 | 5.6 | 8 | 11 | 16 | 22 | 32 |
| s Shutter | 1⁄30 | 1⁄15 | 1⁄8 | 1⁄4 | 1⁄2 | 1 | 2 | 4 | 8 | 15 | 30 |
This table shows the relationship of Aperture ( f ) to shutter speed (seconds) to maintain the same exposure (in full stop increments). The parameters for the base exposure are shown in green.
What this means is that if I wanted to have the same exposure, but wanted to change one of my parameters (either f-stop or shutter speed), I need only move left or right on the table to get the required values.
To illustrate, perhaps I wouldn’t want to shoot stopped all the way down to f/22. Instead I might prefer to shoot at f/11. No problem looking at the table for f/11 yields:
| f Aperture | 0.7 | 1 | 1.4 | 2 | 2.8 | 4 | 5.6 | 8 | 11 | 16 | 22 | 32 |
| s Shutter | 1⁄30 | 1⁄15 | 1⁄8 | 1⁄4 | 1⁄2 | 1 | 2 | 4 | 8 | 15 | 30 |
I can see that at f/11, my new shutter speed would be 8 seconds. Pretty elementary so far, and really just Exposure 101.
Things get a bit more interesting when we consider how some of these are shot. There is some more information about the photo which isn’t present in the EXIF data.
Neutral Density (ND) Filters
The EXIF data on the photo shows that the image was shot at ~3:30PM local time. Just going off of the Sunny 16 rule, I would be shooting at f/16 and 1⁄200ths of a second (at ISO 200).
So how did the photographer get his shutter speed all the way up to 30 seconds? Simple. A Neutral Density (ND) filter.
ND filters are pretty simple things, in theory. Just reduce all wavelengths of light by a certain amount.
The image above was, according to the photographer, shot with a B&W ND110 (10-stop) filter.
Fiddling with the Exposure
Now things get a little more interesting. Let’s assume for a moment that the image uses a 5-stop ND filter to achieve it’s exposure. Let’s also assume that we want to keep the aperture at the same setting ( f/22).
| Stops | 10 | 9 | 8 | 7 | 6 | 5 | 4 | 3 | 2 | 1 | 0 | |
| f Aperture | 0.7 | 1 | 1.4 | 2 | 2.8 | 4 | 5.6 | 8 | 11 | 16 | 22 | 32 |
| s Shutter | 1⁄30 | 1⁄15 | 1⁄8 | 1⁄4 | 1⁄2 | 1 | 2 | 4 | 8 | 15 | 30 |
What we’re essentially doing is removing the 5-stop filter from the lens. To maintain the same exposure, we have to shift those 5 stops of light somewhere. Since we want to keep the aperture at f/22, this means that our shutter speed has to become faster to accommodate.
As we can see in our table, moving over 5 stops yields a new shutter speed of 1 second.
So, if keep the aperture (and ISO) the same, and remove the ND filter, then we will now have to reduce the shutter speed to one second to maintain the same exposure.
The new exposure settings are: 1 second @ f/22 (still ISO 200).
Shutter Speed is too Fast!
So we’ve easily managed to compute a new shutter speed to take the same exposed image. The problem is that now we have a (relatively) short shutter speed compared to the original. With such a short shutter speed we will no longer have nearly the same level of blur for moving objects in the scene.
We’re getting to the meat of this post now.
I contend that with the new exposure value of 1 second, that we can achieve the same level of blur by averaging the same number of frames to equal the original exposure value.
That is, the original shutter speed was 30 seconds. Without an ND filter, our new shutter speed to maintain exposure is 1 second.
I’m saying that with 30⁄1 = 30 frames @ 1 second, averaged together, we’ll get the same result as the original image.
Testing the Theory
Things are more fun when we actually start testing out this idea. So I headed out this past weekend and found a nice fountain near my home to see if I could illustrate what I’m thinking.
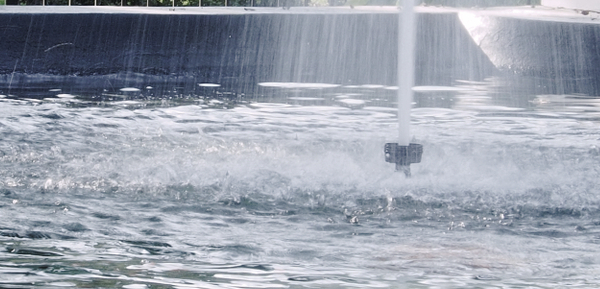
Here is a single frame from one of the shots:
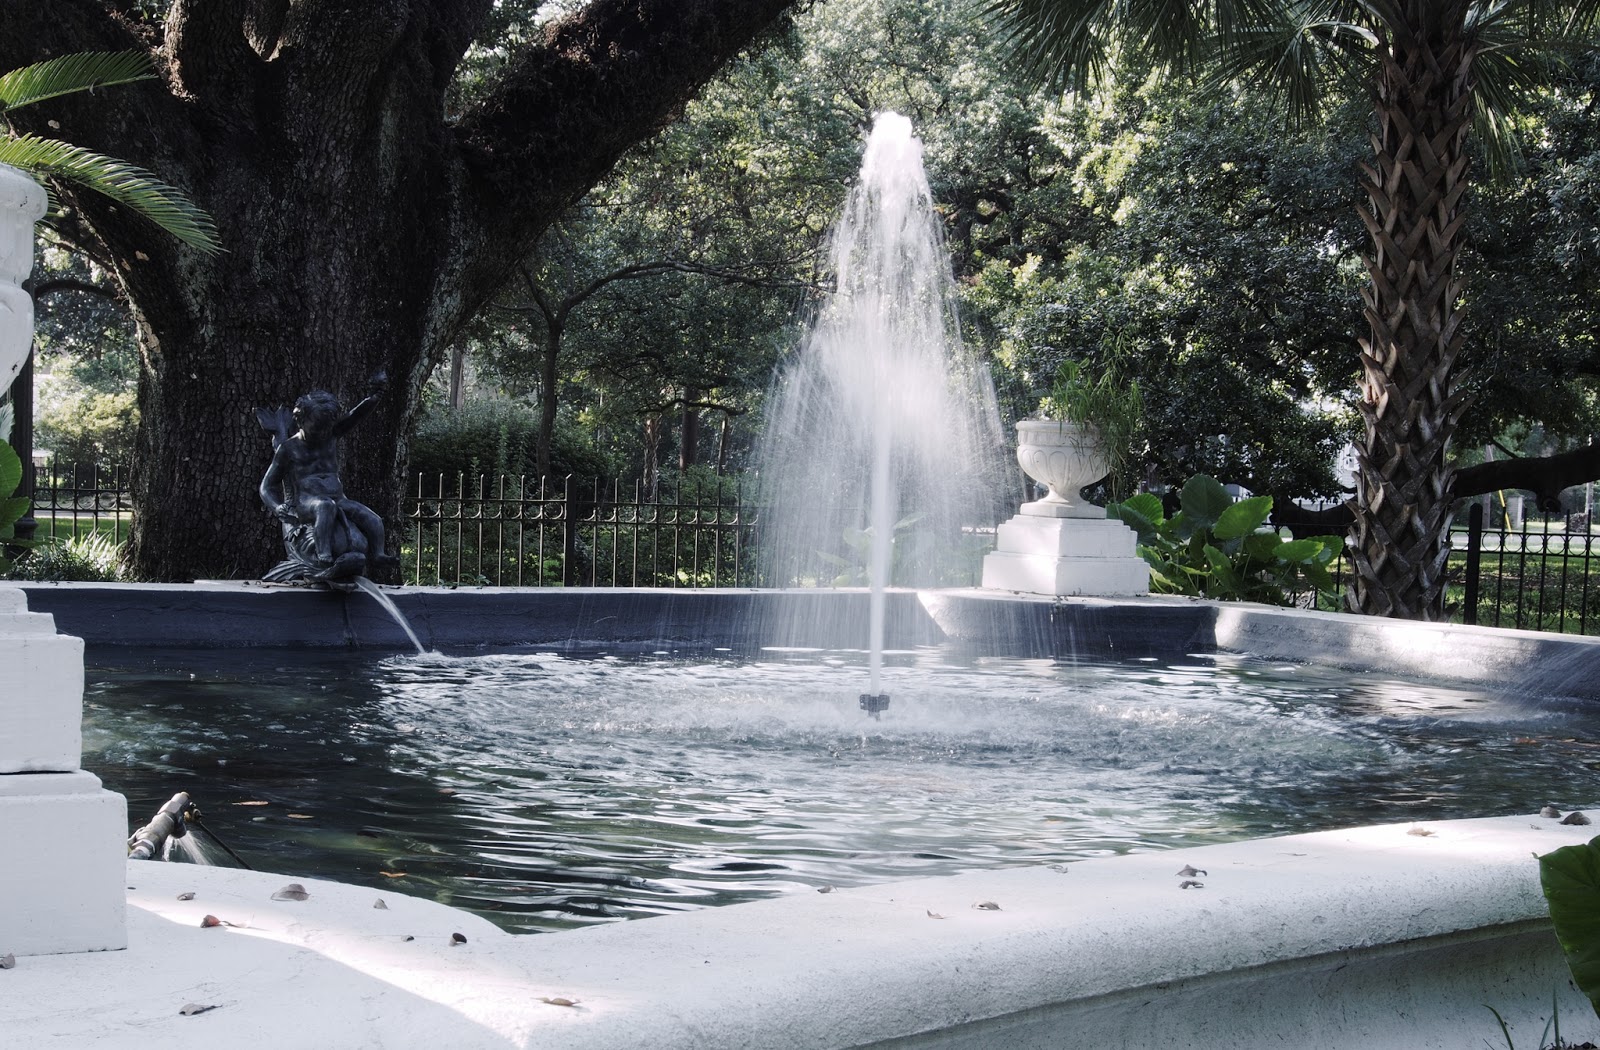
I had my camera setup on a tripod, and just let the burst mode run with this (9 fps for the win!). So I ended up with 55 images of the scene.
As in my Enfuse tutorial, I first made sure all my images were correctly aligned using Hugin’s align_image_stack:
C:\Program Files\Hugin\bin\align_image_stack -a OUT FILE1 FILE2 FILE3
My tripod is a little wobbly, so I wanted to make sure everything was well aligned. Obviously this could be skipped if you’re sporting a fancy, heavy tripod.
After all the images are aligned, I just use Imagemagick the same way I did for averaging my other images:
convert *.tif -evaluate-sequence mean -alpha off OUT.tif
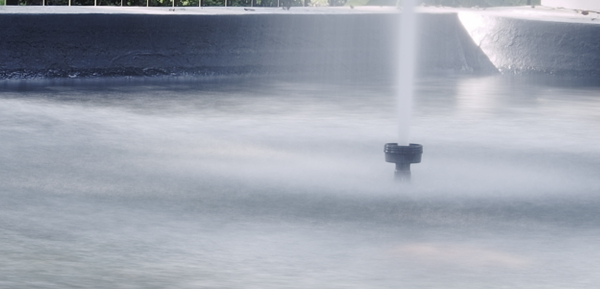
So 55 images × 1⁄15 = 3.6 second equivalent exposure. Here’s the result:

This is the same as if I had used a 5-stop ND filter, and exposed for the same result.
Here is a 100% crop to show some detail better:
Results
I’d say that the results so far are in line with what I expected. That is, multiple shorter exposures average blended together will yield the same visual results as a much longer exposure.
Cool! So now I have a way to replicate the results usually obtained with an ND filter, without having to get one.
Now, this way may seem a bit fussy, but really it was pretty simple. Most modern cameras can fire off quite a few shots per second. The setup is no different than shooting with an ND filter (you’ll still have to have a steady tripod setup, and the shot framed up and ready to go).
The only difference is that you are now firing off multiple shots instead of one long shot.
Processing is pretty straightforward once you have all the images, too. Those two commands are all that is needed (and really if my tripod was steady enough, I could have skipped the align_image_stack step).
So the next time you’re out shooting and forget (or don’t have) your ND filter, try setting up the tripod anyway, and firing off a bunch of images instead!
[Bonus] - An added bonus of using this technique is that you’ll be actively reducing the noise in your image through averaging, which is normally the opposite of running your sensor for 30+ seconds in a single go.
Something Neat
I also learned something really neat while writing this. Apparently Imagemagick can also read in video files! So I can also just setup a camera, and take a video of the scene in question. I’ll get about 30 frames per second from my camera, so a 10 second video gets me 300 frames (albeit at HD resolution). In my case, I had 435 frames to quickly average from my video:
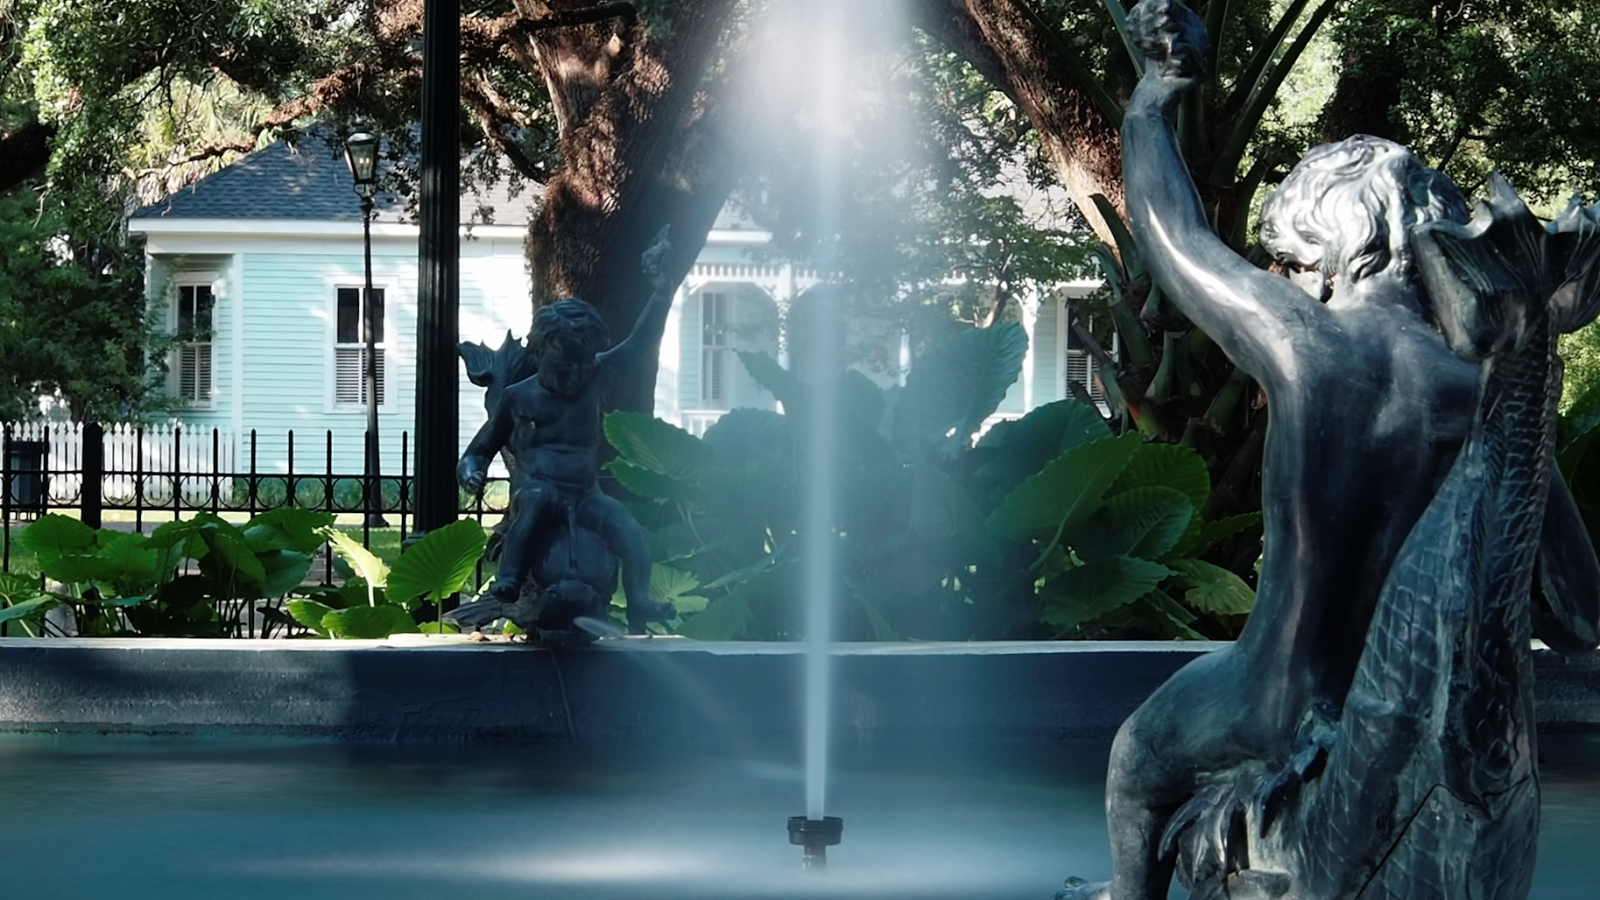
Of course, doing it this way means your view has to be really, really still. Otherwise you’ll have to extract all those frames and align them first to keep still objects sharp.
G’MIC/GIMP
Just to be complete, the same results can be obtained through G’MIC in GIMP. G’MIC has a command for doing average blending of all layers in the image:
Layers → Blend [average all]
I didn’t do it in GIMP because 55 full resolution images tends to choke things up (and I really didn’t need to see each layer).