
Automatic Exposure Blending with Enfuse (HDR-ish)
I say HDR-ish because there is not a true HDRi being created, but rather a final output image is being blended together from multiple exposures (using a fancy algorithm and what I suspect is some magical kung-fu).
First, though, a quick recap. I talked about creating HDRi’s in my previous post about doing it entirely with F/OSS tools. The intention there was to create a single HDRi scene that contained more luminance data than could be captured with any camera in a single shot. The problem was, you had no means of visualizing this high range of data.
So to squeeze the large range of light values into something you can see, we have to rely on Tone Mapping Operators (TMO’s) to compress the range of values down to something we can see. There are quite a few different methods for doing this, which led to all the results in my previous post:
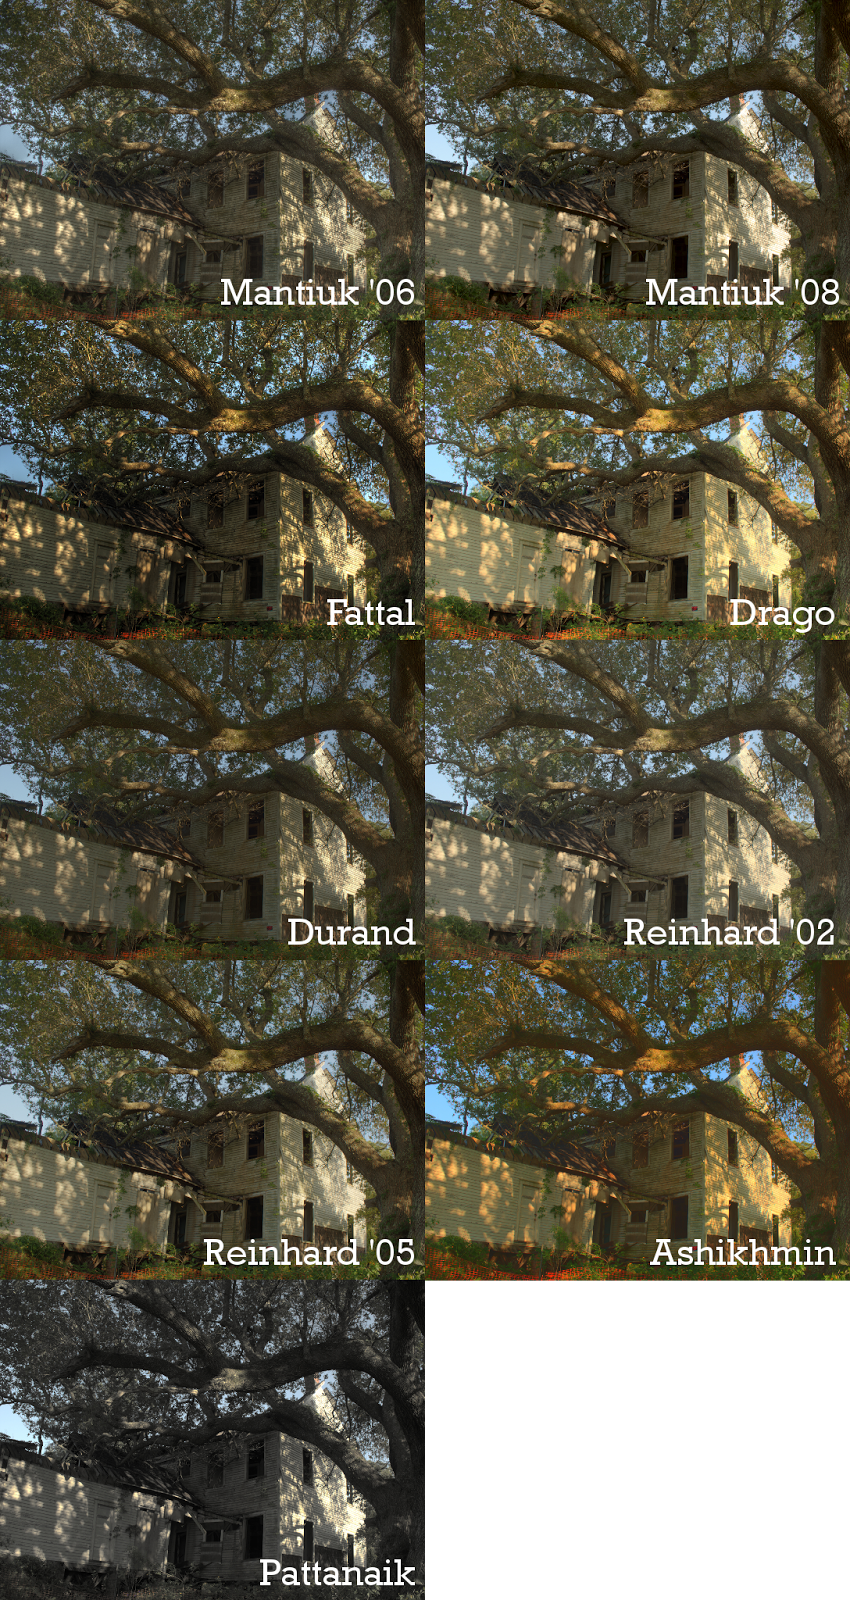
My results from using all the different TMO’s in Luminance HDR
In each of these cases, the first step was to create an HDRi, then to feed that through a TMO to produce the result (and tweak as necessary).
Remember - the goal was to produce an image that could represent a large dynamic range of information into a smaller range that we can see.
In that article, I neglected to mention another method for achieving the same result - exposure blending.
At its simplest, an exposure-blended image could just be two exposures. For instance, one to capture the dark areas nicely exposed, with another exposed for light areas. The basic idea is to bring both of those images into GIMP, then use layer masks to blend them together where you can choose the best exposed parts for the final output manually.
This is actually a great method for total control of your final result. I personally have used this method often to great results. Of course, I take advantage of things like luminosity masks to help me quickly/easily mask areas of an image.
The problem is that it gets unwieldy very fast as the number of exposures goes up. (Image trying to manually blend the exposures from 7 different images - yikes!).
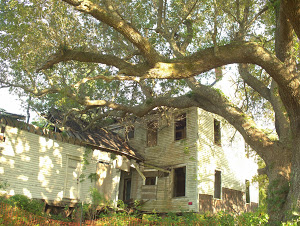
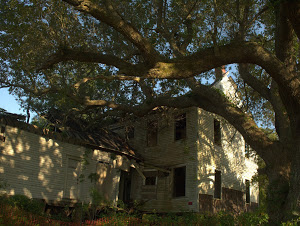
So I just go ahead and cheat a little by using Enfuse (included as part of Hugin) to automatically blend the different exposures together for me! (Some of you may remember Enfuse from my previous post about using it to focus-stack a series of macro images to increase depth-of-field). For reference, I’m re-using the images from my earlier HDR tutorial. Here are those images:
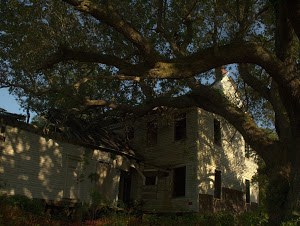
The base exposure, 1⁄160 s, 0EV

Enough talk. Get all your JPG’s in a directory, open a command prompt there, and:
enfuse *.jpg
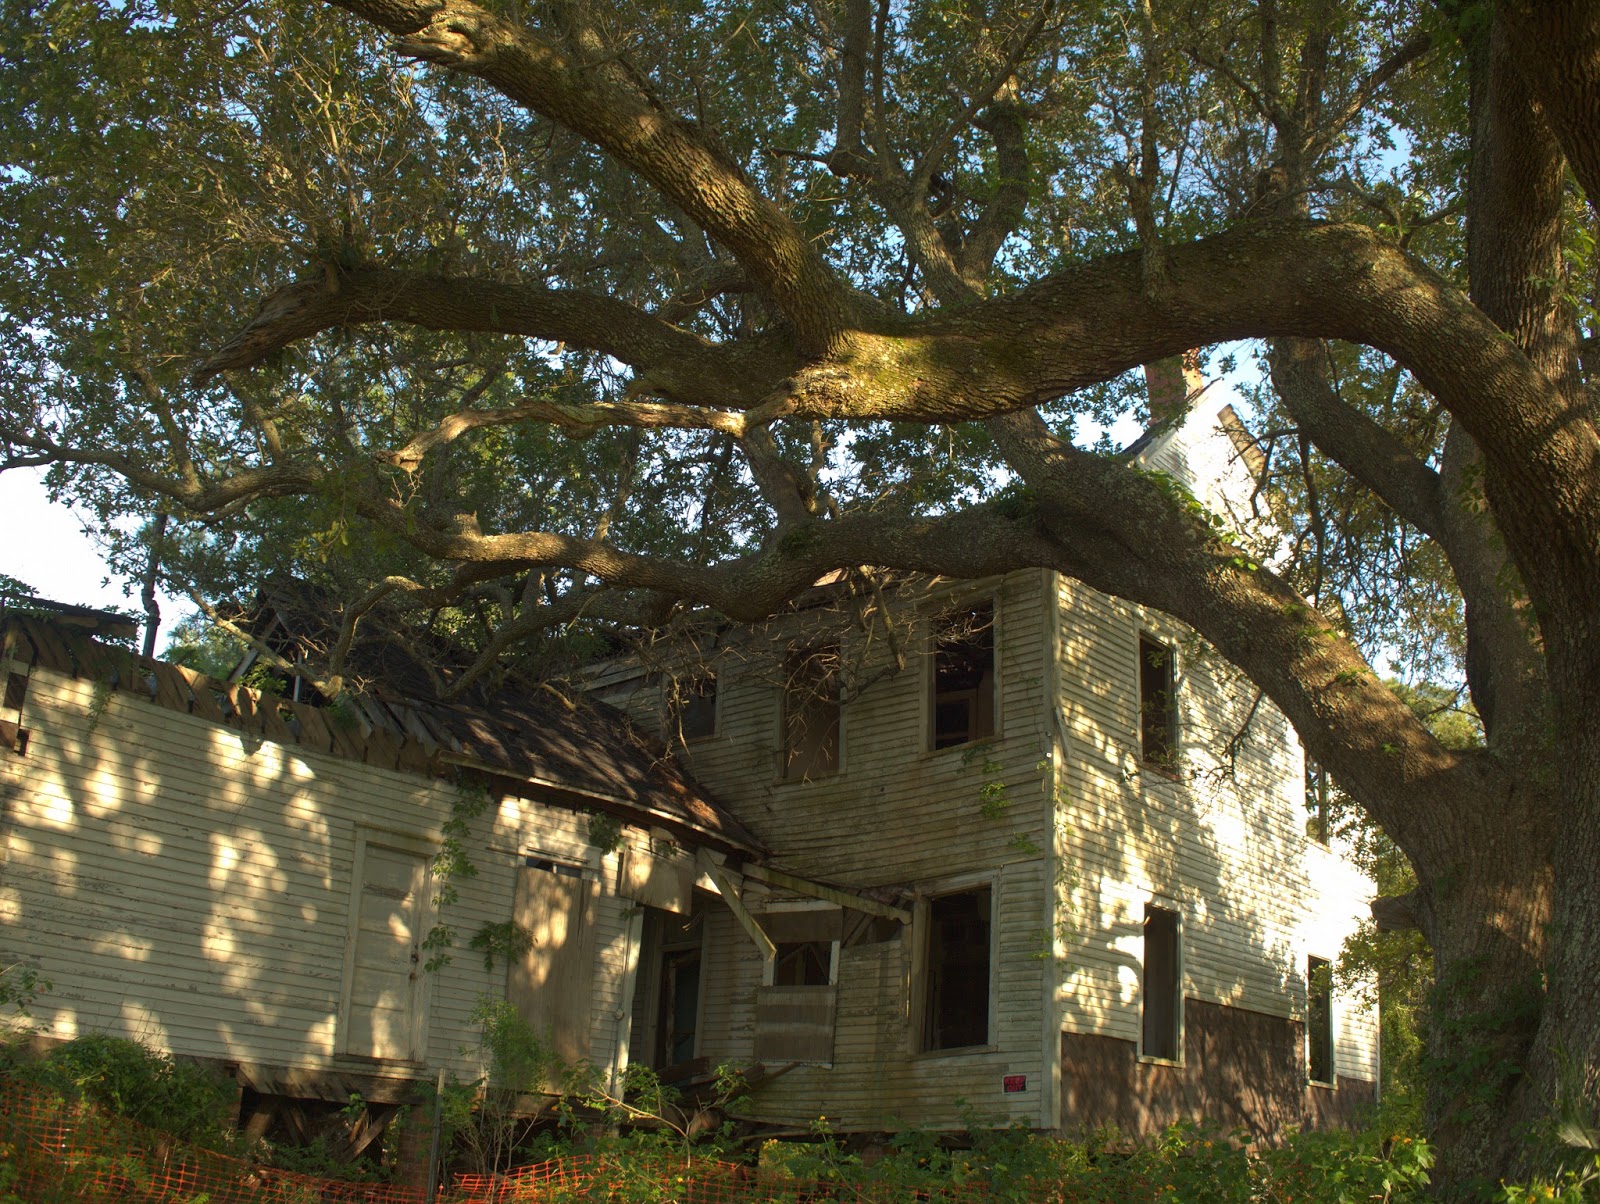
Impressive, right? Wait a bit, and when it’s done you’ll have a file a.tif in that directory. Here’s my output from the above images:

Compared to all of the previous results from the different TMO’s in LuminanceHDR, this is a fantastic result, I think! No weird halos or colors, and I can get detail just about everywhere in the resulting image. This would make a great base image to start with if I wanted to do any further processing. As a bonus, it was fast (wayyyy faster than creating an HDRi and then tonemapping it).
There’s another neat trick you can use as well. If you wanted to tweak the results you can have enfuse also save the masks it used to generate the results:
enfuse --save-masks=%f-softmask.png *.jpg
This will generate the mask used (named FILE-softmask.png) for each of the input files. Now you can load up your original images in GIMP, and add layer masks with these masks for further tweaking and adjustment. Couldn’t be simpler!
I would highly recommend you keep this in mind as part of your toolset for blending images with high dynamic ranges. It usually produces very realistic and well-blended images much faster and easier than going through all of the steps for creating an HDRi.